I have been dreaming about holidays for the last, ahem, 10 months. Yes, because when you work weekends are really too short (they actually fly, don’t they?) and time to switch off EVERYTHING is almost a mirage.
We can try to balance time to do nothing and time for all those things we can’t do on week days, but the truth is that we can’t never really say bye bye to all our thoughts like on Summer holidays.
//
Sto sognando l’estate da circa, ehm, 10 mesi. Già, perché quando si lavora i weekend sono davvero troppo corti (sembra quasi volino, no?) ed il tempo per staccare da TUTTO è quasi un miraggio.
Possiamo provare a bilanciare il tempo tra fare niente e quello per le cose che non riusciamo a risolvere in settimana, ma la verità è che non riusciamo mai a dire ciao ciao del tutto ai nostri pensieri come invece facciamo durante le vacanze estive.
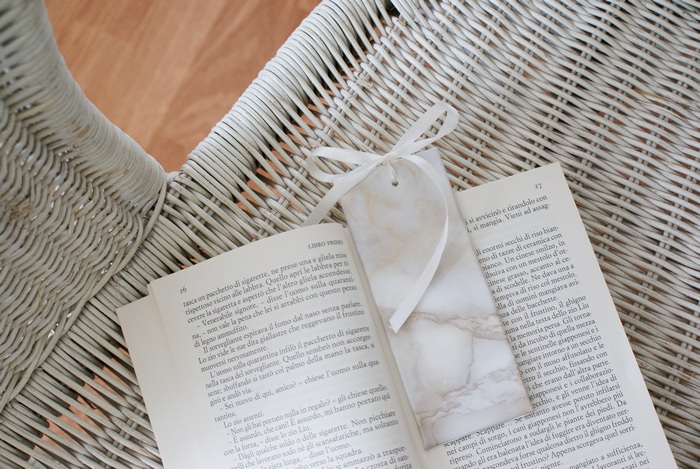
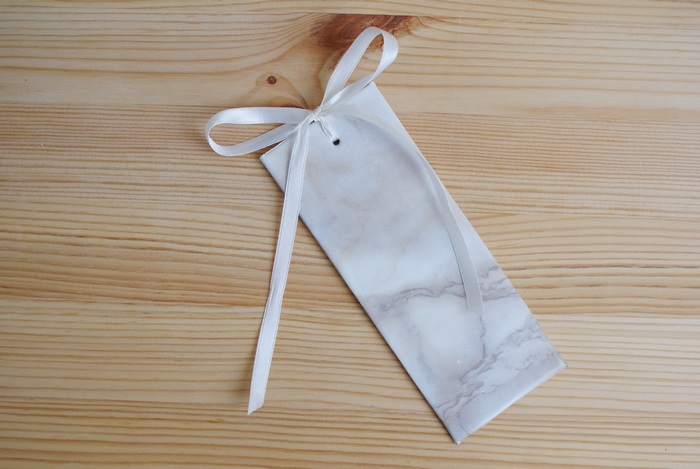
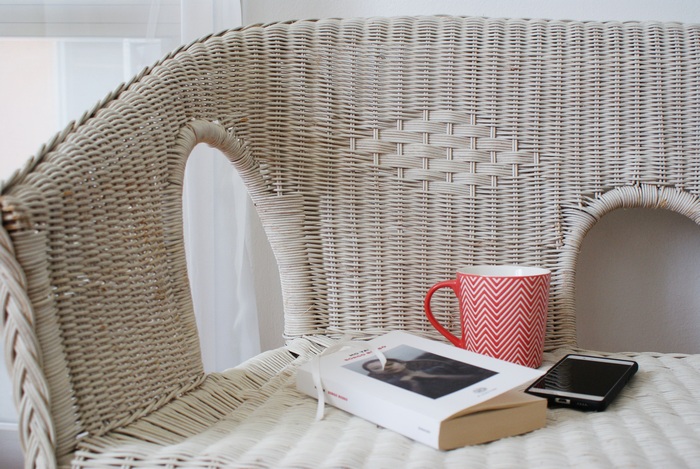
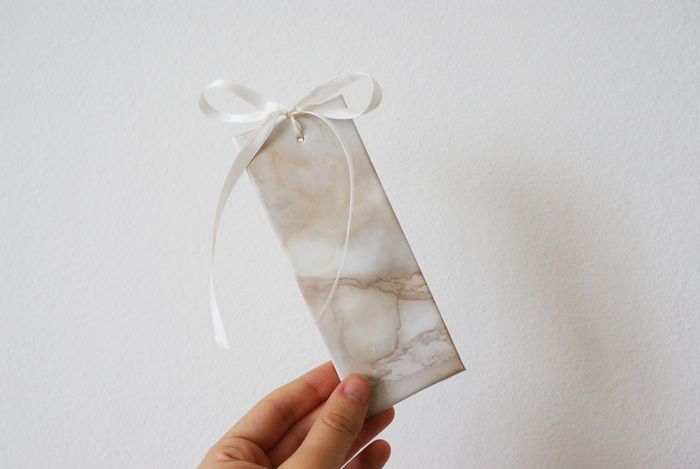
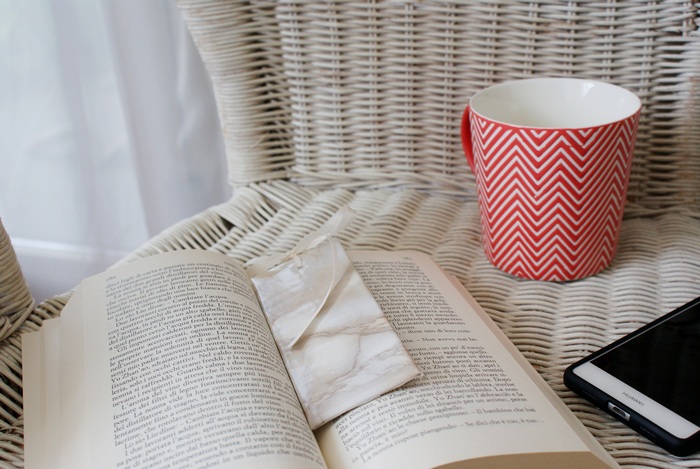
This bookmark is so easy to do and will always come with you because it’s simply too cute! So, this diy is for all you out there waiting for quiter times for doing what you love, reading, for example.
//
Dunque, questo fai da te è per tutte voi, là fuori, che aspettate momenti più tranquilli per fare solo ciò che vi piace, leggere, per esempio. Questo segnalibro è davvero facile da realizzare e verrà sempre con voi perché è semplicemente troppo bello!
***
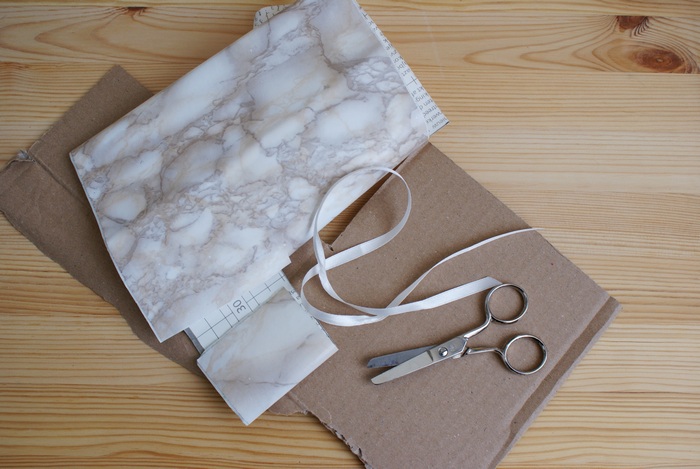
You need // Vi occorre:
- Cardboard. // Cartoncino.
- Adhesive marble paper. // Carta adesiva marmorizzata.
- Scissors. // Forbici.
- Ribbon. // Nastrino.
How to // Come procedere:
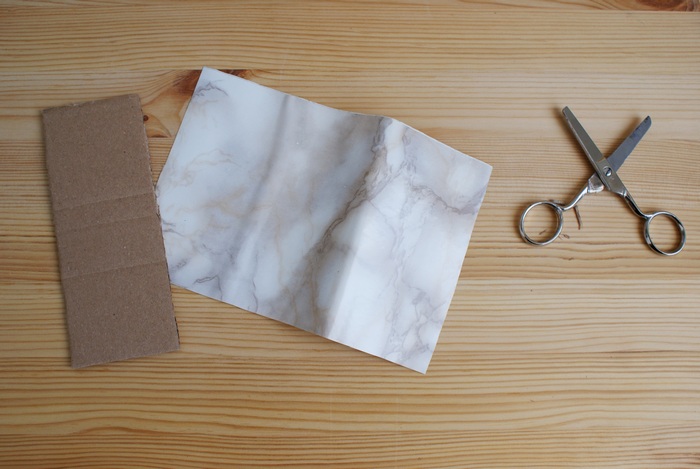
1)
First, cut the cardboard and the marble paper. You can choose how big your bookmark will be, but remember to cut a piece of marble paper big enough to cover it all. // Prima di tutto, tagliate il cartoncino e la carta marmorizzata, la grandezza del segnalibro è a vostra scelta, ma attente a tagliare un pezzo di carta marmorizzata che sia grande abbastanza per coprirlo.
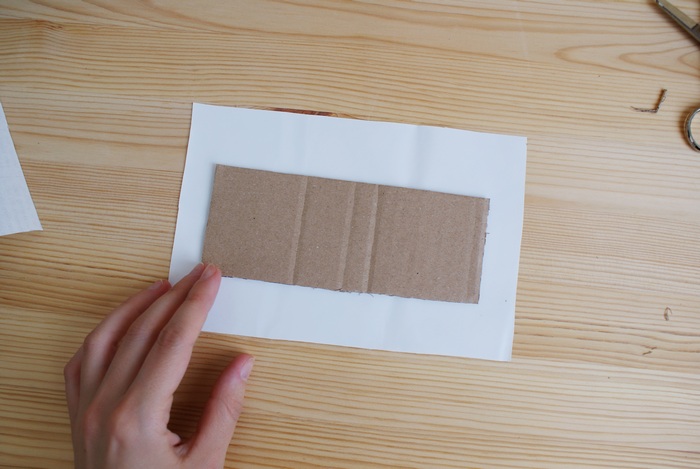
2)
Place the cardboard in the centre of the adhesive side of marble paper. // Posizionate il cartoncino al centro del lato adesivo della carta marmorizzata.
3)
Fold the sides to cover it, cutting the excess. // Piegate i lati per coprire il cartoncino, tagliando gli eccessi di carta marmorizzata.


4)
Now make a hole for the ribbon (I used the multhi hole punch). // Ora fate un buco per il nastrino (io ho usato la pinza fustellatrice).

5)
Add the ribbon and voilà! // Aggiungete il nastro e voilà!
Did you like the post? Pin it on Pinterest!


