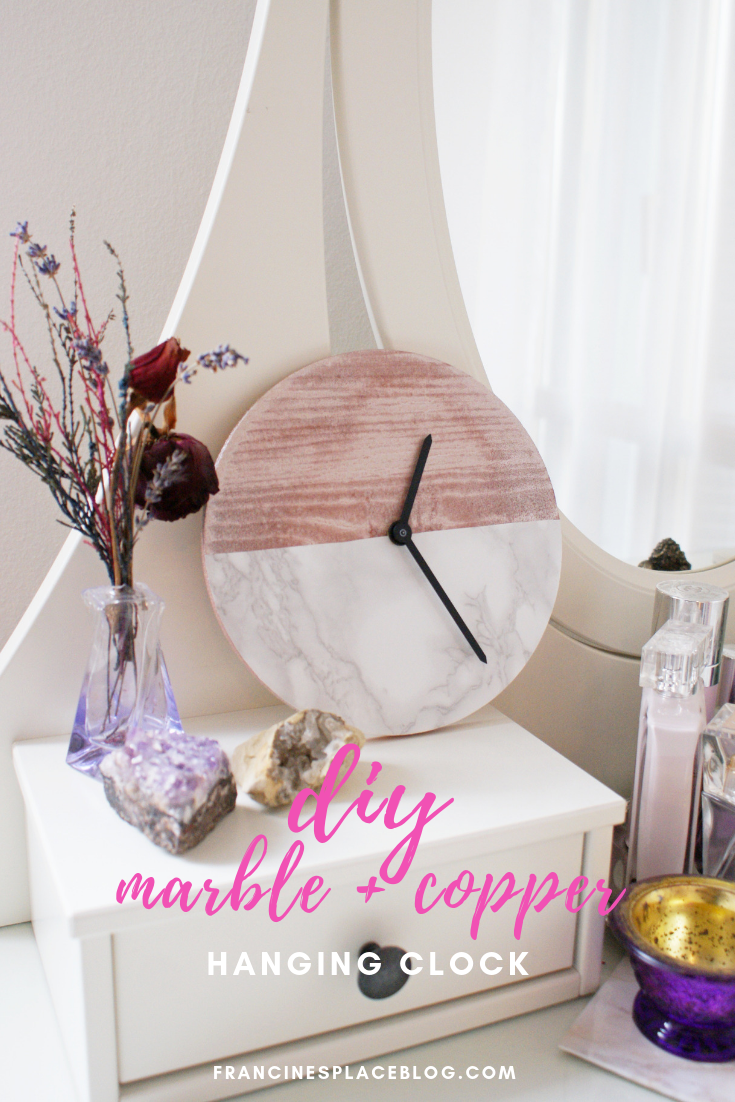
Looking for that stylish marble/copper touch you’ve been dreaming for your livingroom?
I think you (and your wallet) will like this DIY as much as I do!
//
Siete alla ricerca di quel tocco marmo/rame super stiloso che sognate per la vostra sala?
Credo che voi (ed il vostro portafogli) amerete questo fai da te quanto lo amo io!
After years, my passion (ok, actually obsession) for marble is still riding high, just as for copper. Useless to say that we’re planning to have these 2 materials in the new house, but I’ll talk about it later this year. I like everything marble/copper made and I think that they are simply perfect together! This is why I made this clock with less than…10€. Looking so expensive and easy (ridiculously easy) to make. Need to say more?
//
Dopo anni, la mia passione (okay, ossessione) per il marmo è ancora sulla cresta dell’onda, tanto quanto quella per il rame. Inutile dire che stiamo progettando di usare entrambi i materiali nella nuova casa, ma ve ne parlerò più avanti quest’anno. Mi piace qualsiasi cosa sia fatta di marmo/rame e penso che insieme siano praticamente perfetti! Ecco perché ho realizzato questo orologio con meno di…10€. Dall’aspetto costoso e facile (imbarazzantemente facile) da fare, cosa volete di più?
***
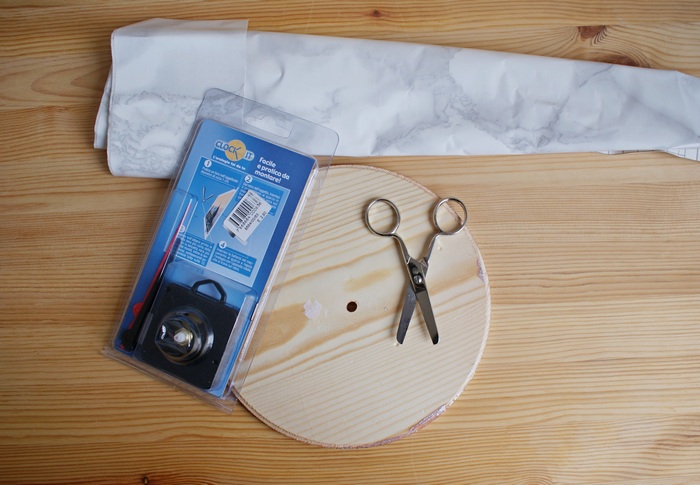
You need // Vi occore:
- Clock kit (I bought mine for less than 3 euros!). // Kit per orologio (il mio l’ho pagato meno di 3 euro!).
- A piece of plywood (I opted for rounded one, choose the shape you prefer). // Un pezzo di compensato (io l’ho preso tondo, ma scegliete la forma che preferite).
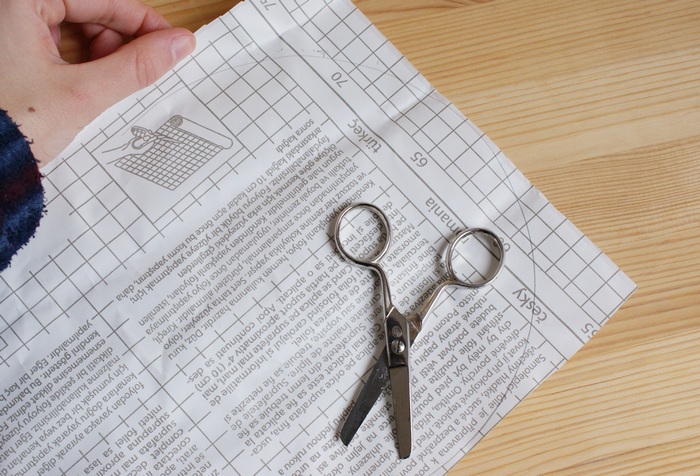
- Screwdriver to make the hole. // Avvitatore per fare il buco.
- Marble adhesive paper. // Carta adesiva marmorizzata.
- Copper-colored paint. // Vernice color rame.
How to // Come procedere:
1)
Sign the centre of your plywood piece and make a hole big enough to fit the clock mechanism (read the kit instructions!). I did it before taking the photos and I used screwdriver instead of drill cause thickness of plywood was less than 1 cm and I was afraid that a drill could break it. // Segnate il centro del compensato e fate un buco grande abbastanza per far passare il meccanismo (leggete le istruzionin del vostro kit!). Io lo avevo già fatto prima di fare le foto e ho usato un avvitatore invece del trapano perché temevo che, dato lo spessore del legno inferiore al cm, il trapano potesse romperlo.
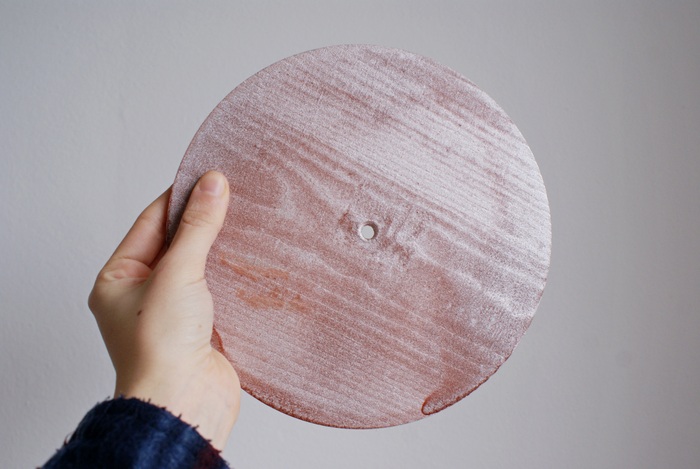
2)
Paint one side with copper color and let it dry. // Verniciate un lato con il color rame e lasciate asciugare.
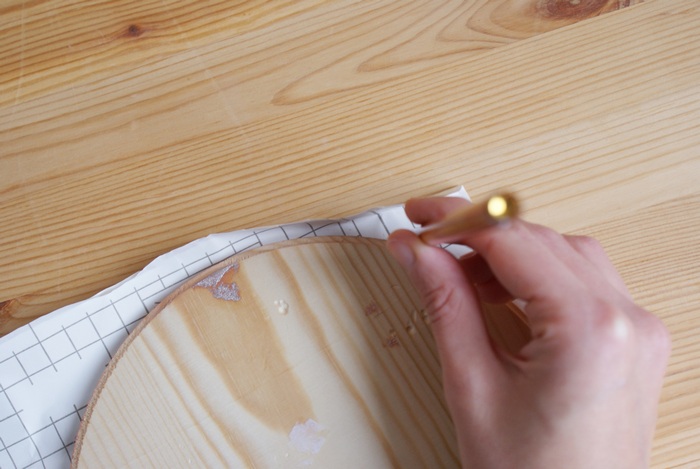
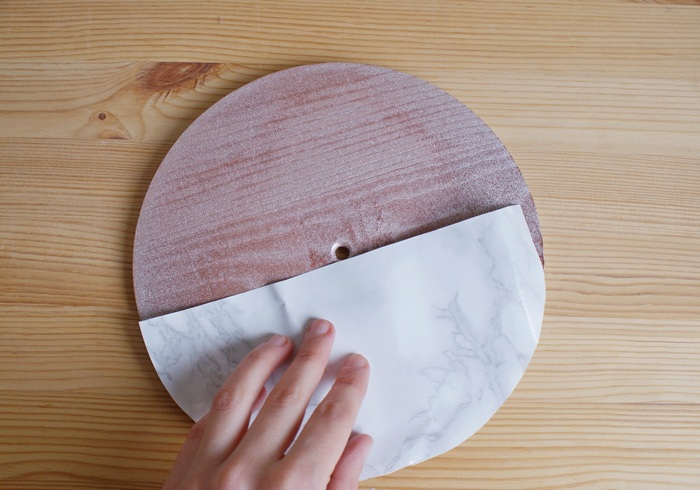
3)
Using the plywood as a sample, draw the semicircle on the back of marble paper, cut it and paste it to the clock, leaving the hole open. I opted for half and half, but you are free to mix them by your taste! // Usando il compensato come modello, disegnate sul retro della carta marmorizzata il semicerchio, tagliatelo ed attaccatelo all’orologio lasciando libero il buco. Ho scelto di fare metà e metà ma siete libere di mixarli come preferite!
4)
Use a cutter if you need to re-open the hole, then add the clock kit (lancets and mechanism) following the instructions and you’re done! // Se occorre riaprite il buco con un taglierino, poi aggiungete il kit da orologio (lancette e meccanismo) seguendo le istruzioni e avete fatto!


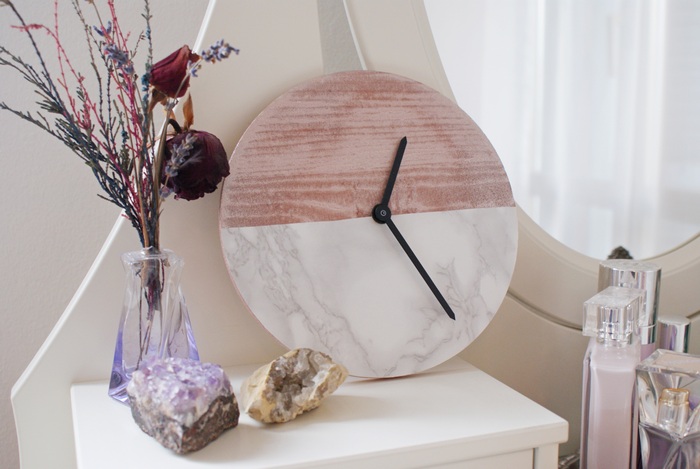

Isn’t it simply so beautiful? Enjoy your new super chic clock! P.S. for more marble posts click here 🙂 //
Non è bellissimo? Godetevi il vostro nuovo orologio super chic! P.S. per altri post a tema marmo, cliccate qui 🙂
Did you like the post? Pin it on Pinterest! // Piaciuto il post? Condividetelo su Pinterest!