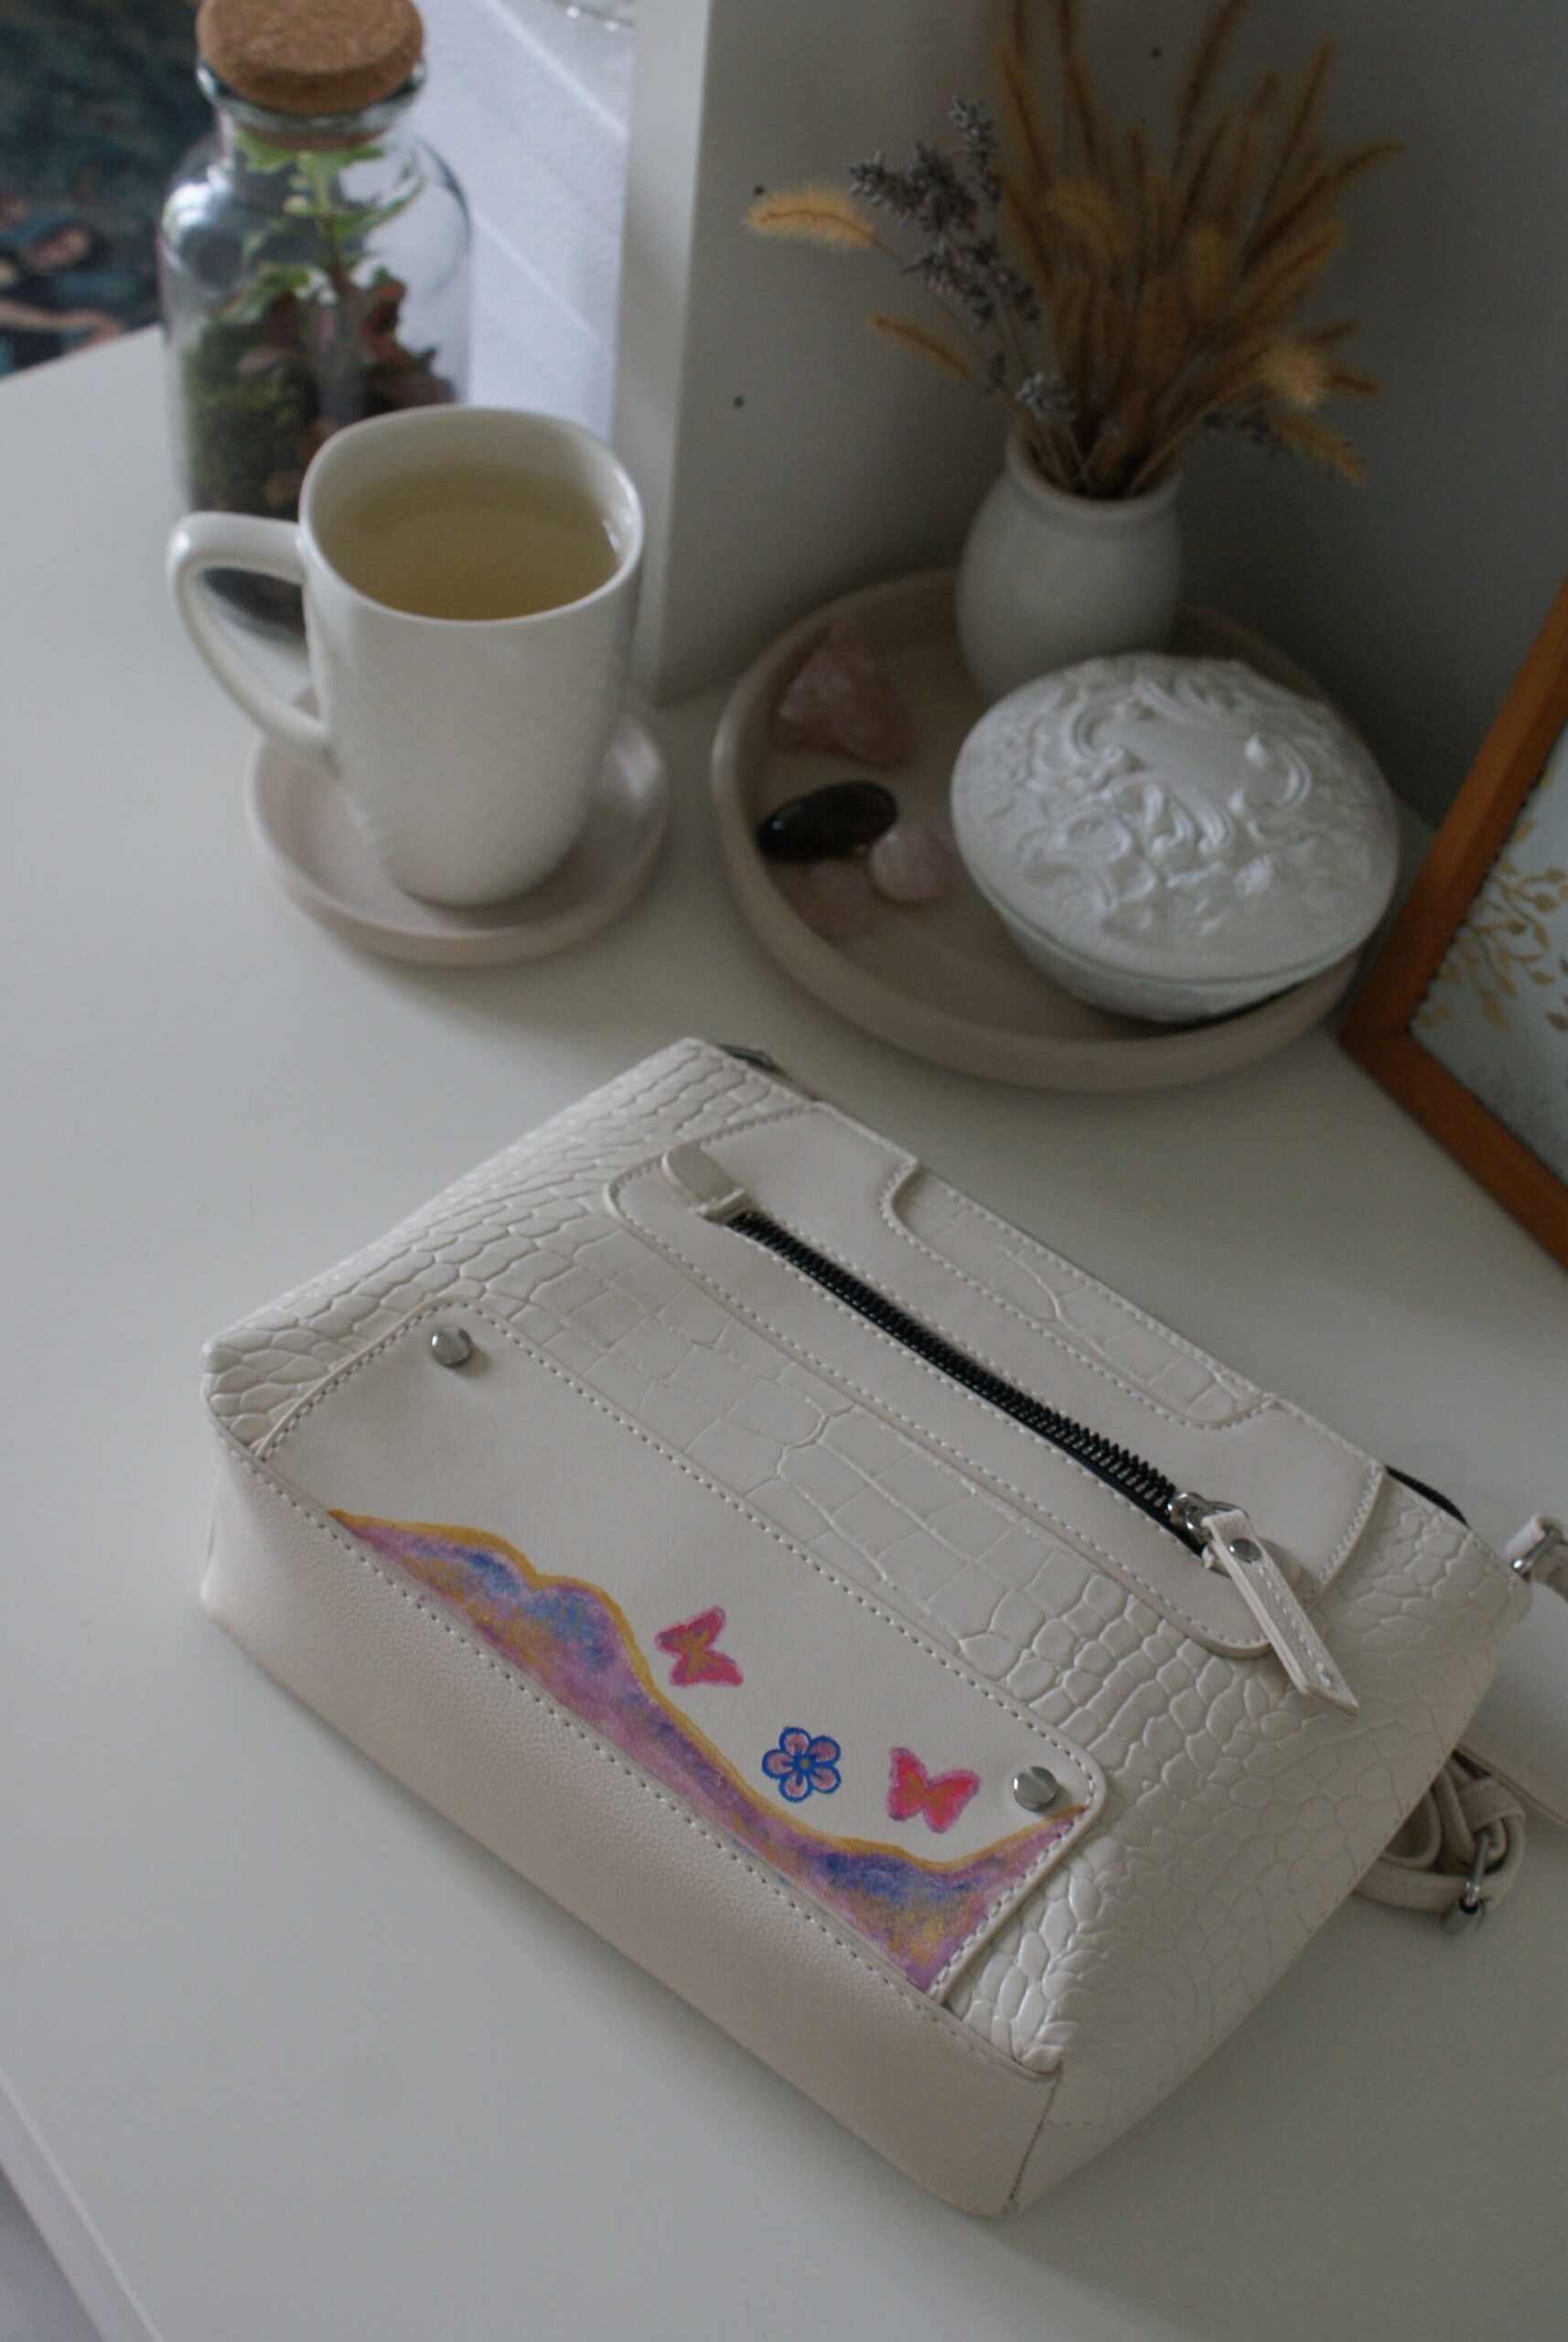
Looking for an easy idea to upcycle an old leather bag? Make a custom painted bag in few simple steps!
You don’t necessarily need to be an artist to paint leather (or fabric): with the right painting kit and some patience you can custom and upcycle your old bag and get a super cool result!
If you feel that something in your closet needs some spice or a whole new life you should try to upcycle it: from an old t-shirt, a sweater, a pair of shoes or a skirt. Anything can look like new with the right details! This time I upcycled a plain leather bag using paint and I’m so happy about the result! I got a SneakArts painting kit with stencils and decorated the bag to give it a fresh look! Keep reading to discover all the steps about how to make a custom painted bag yourself!
***
You need:
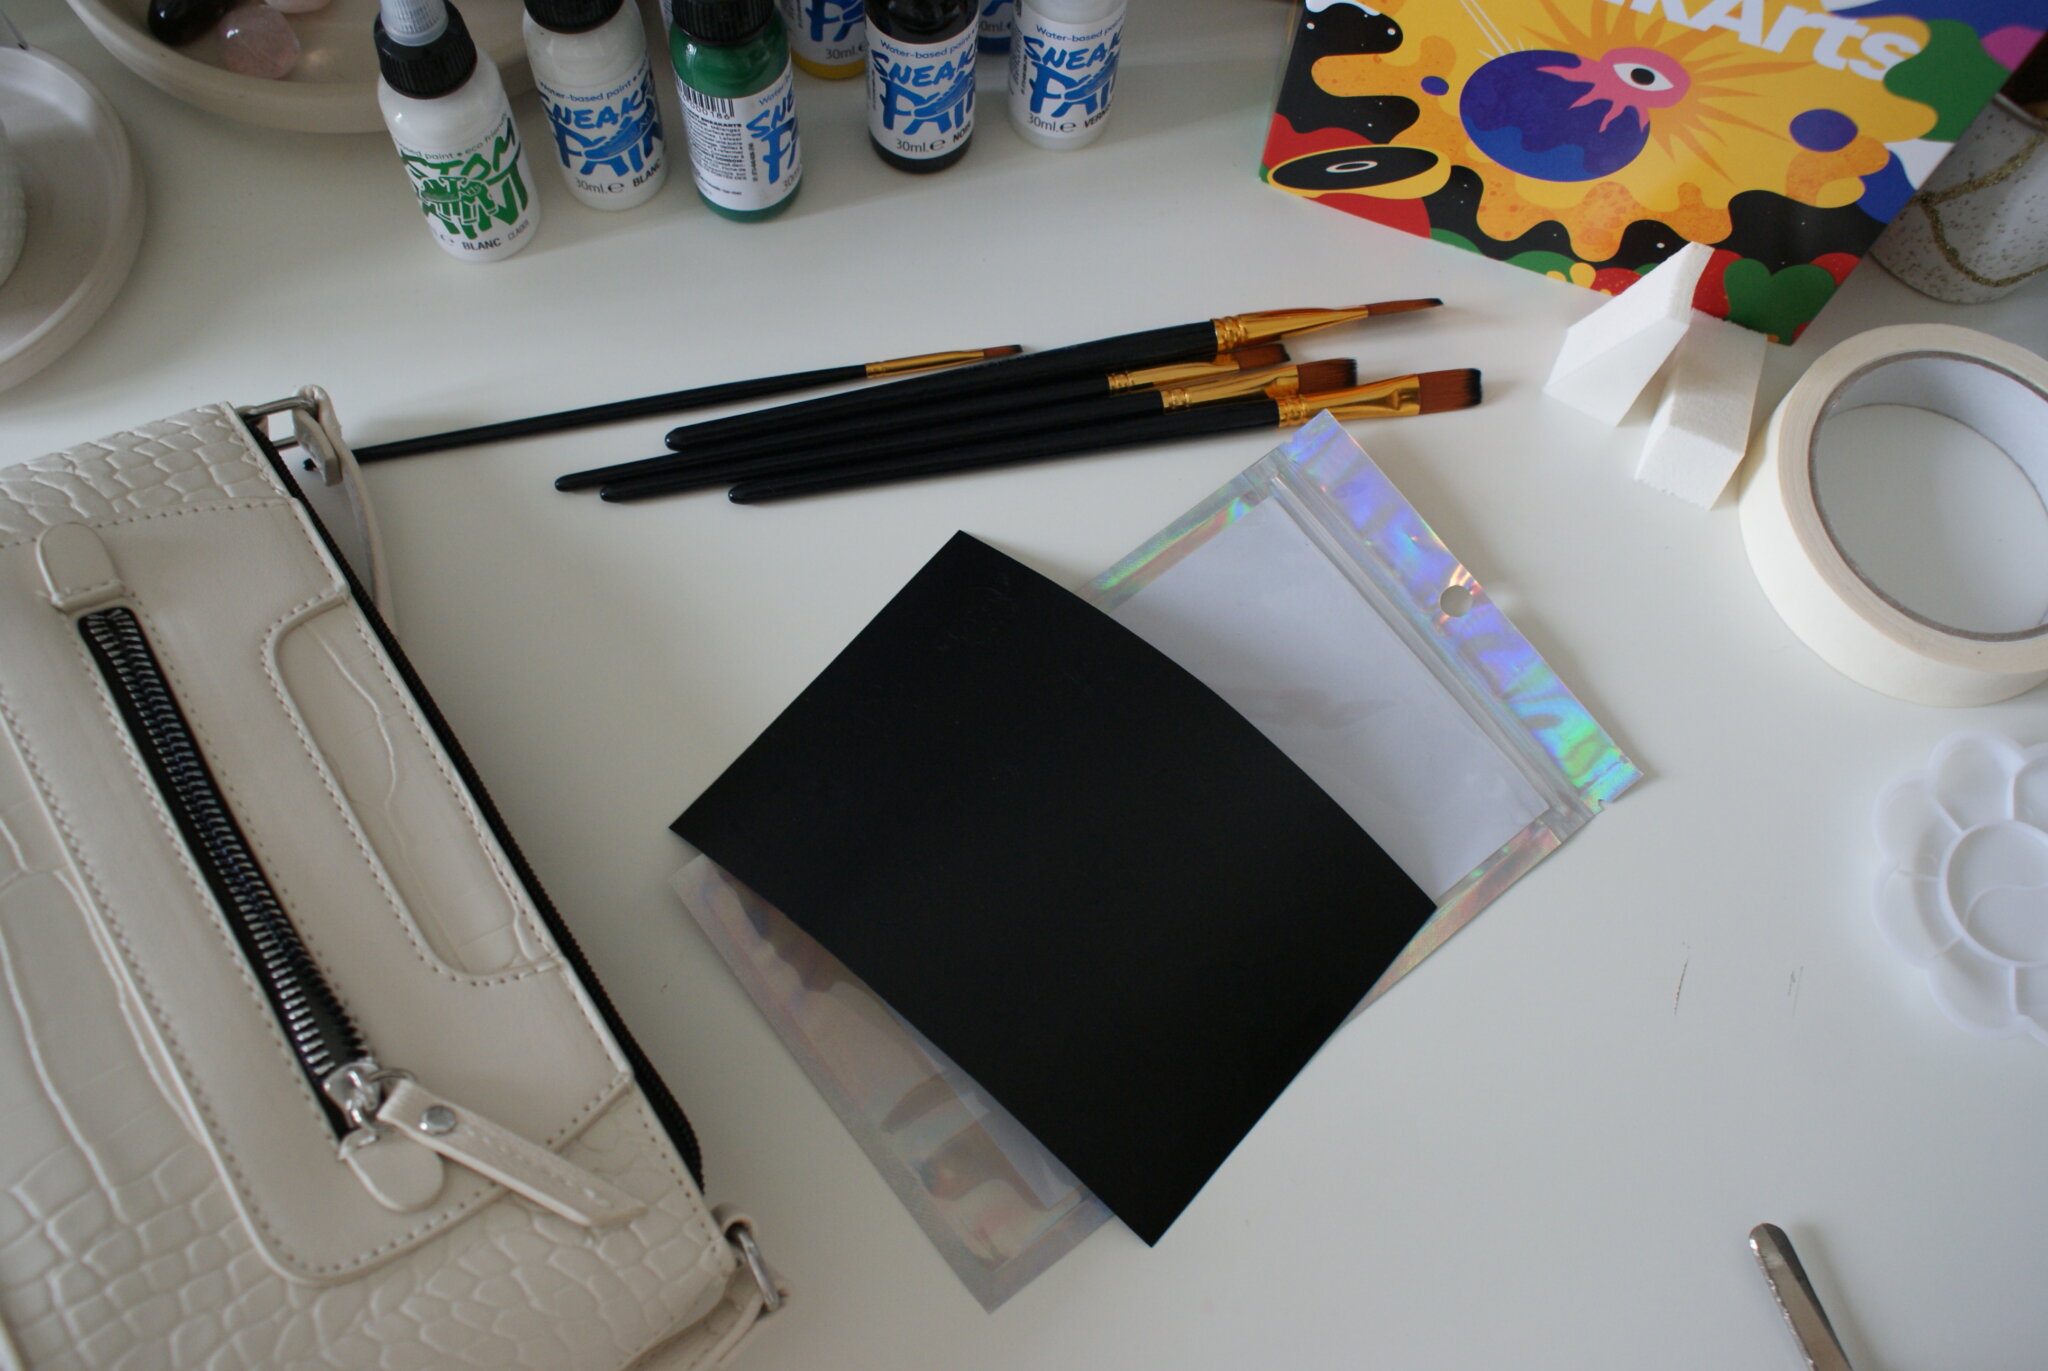
- an old leather bag
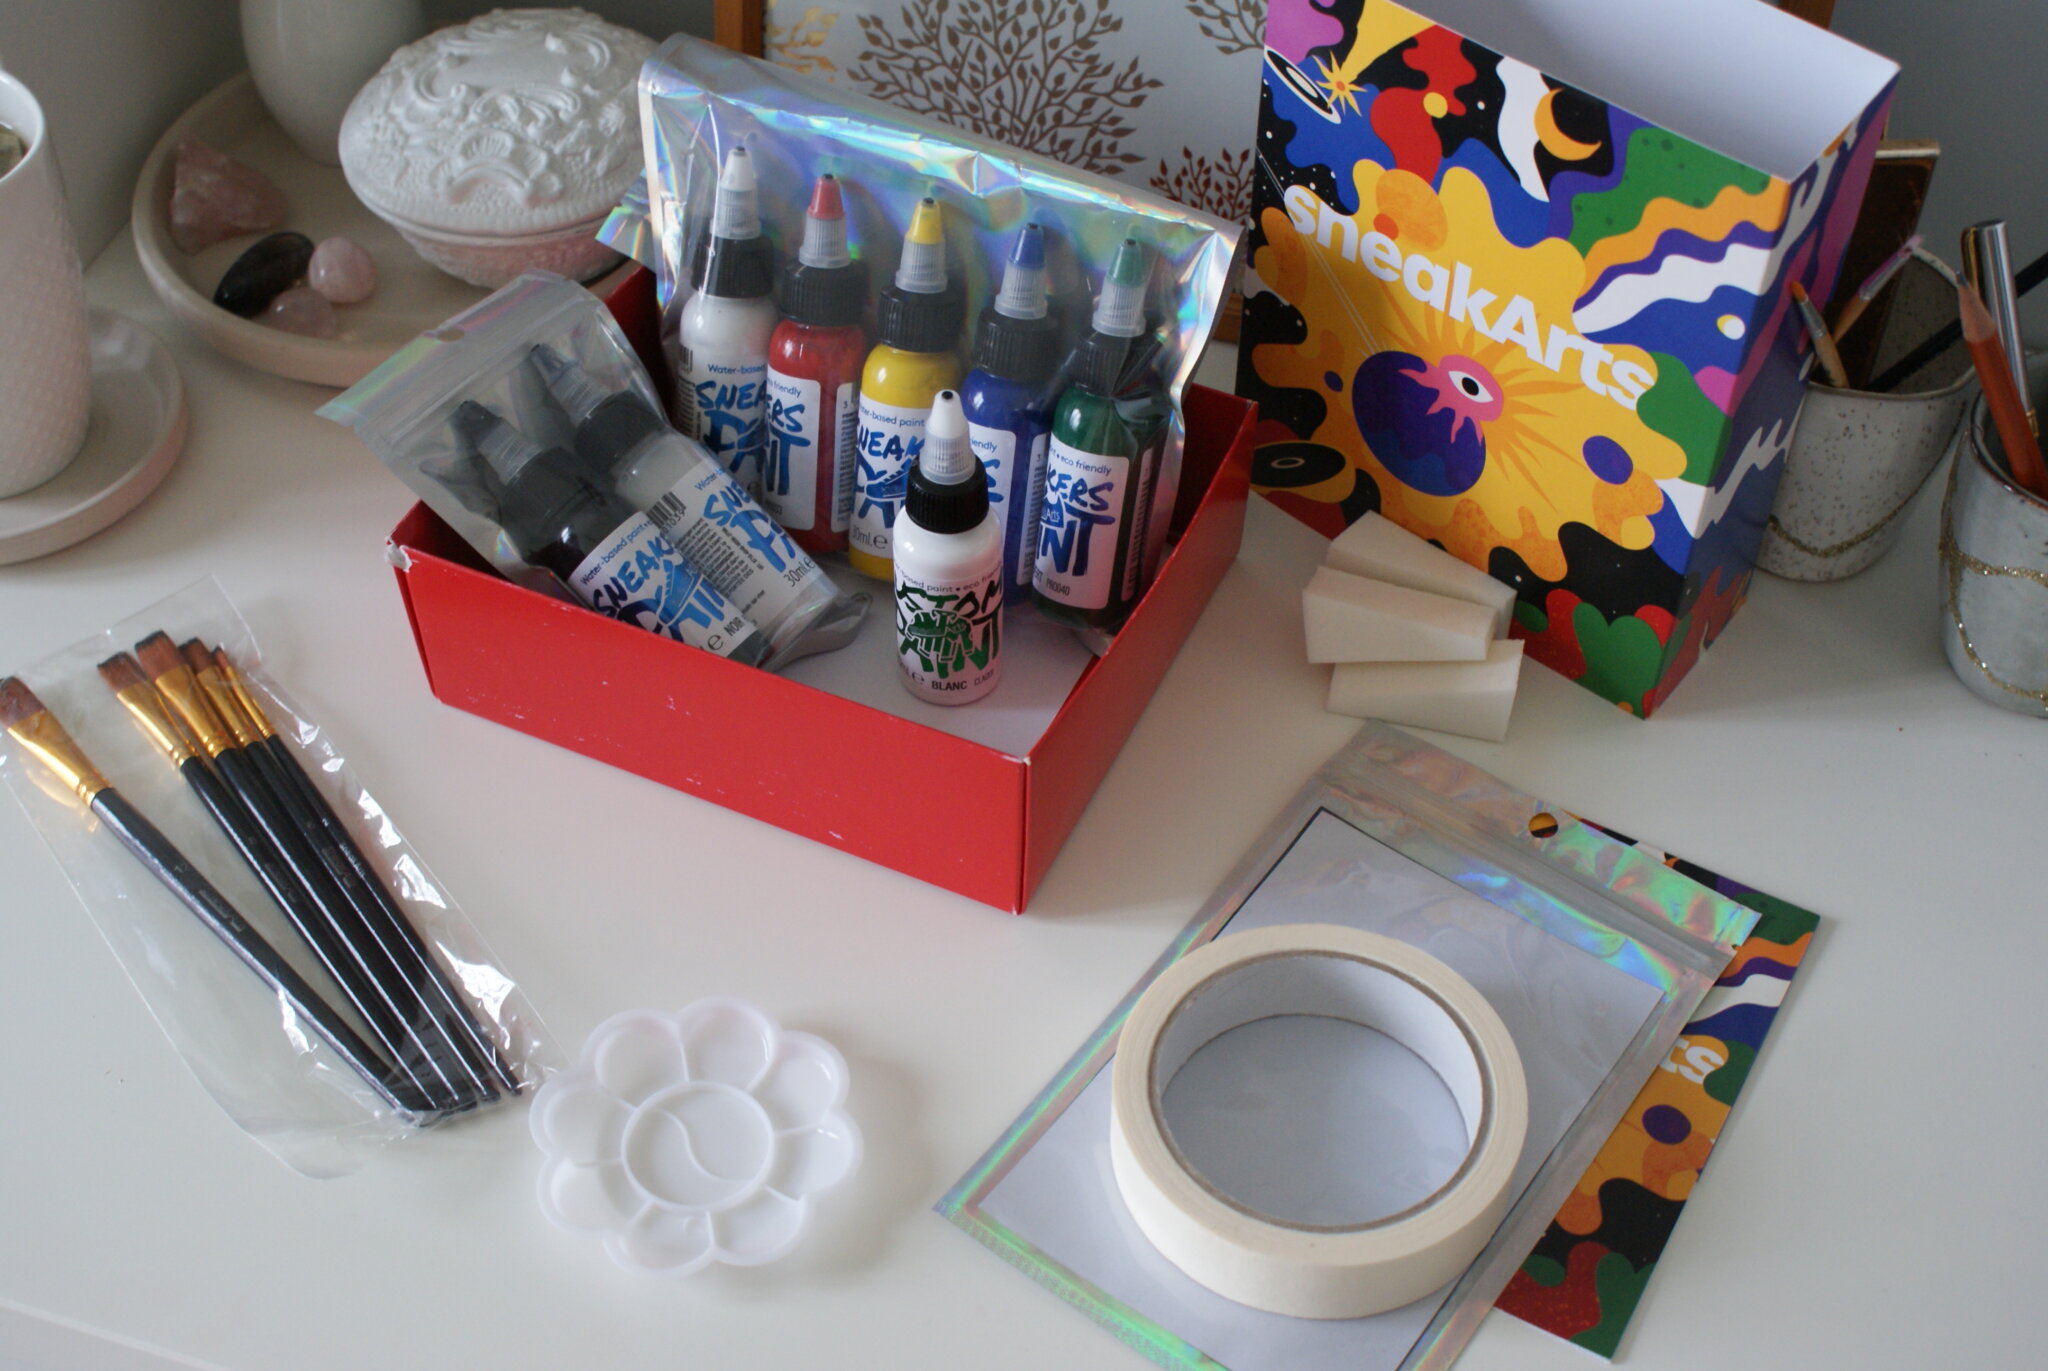
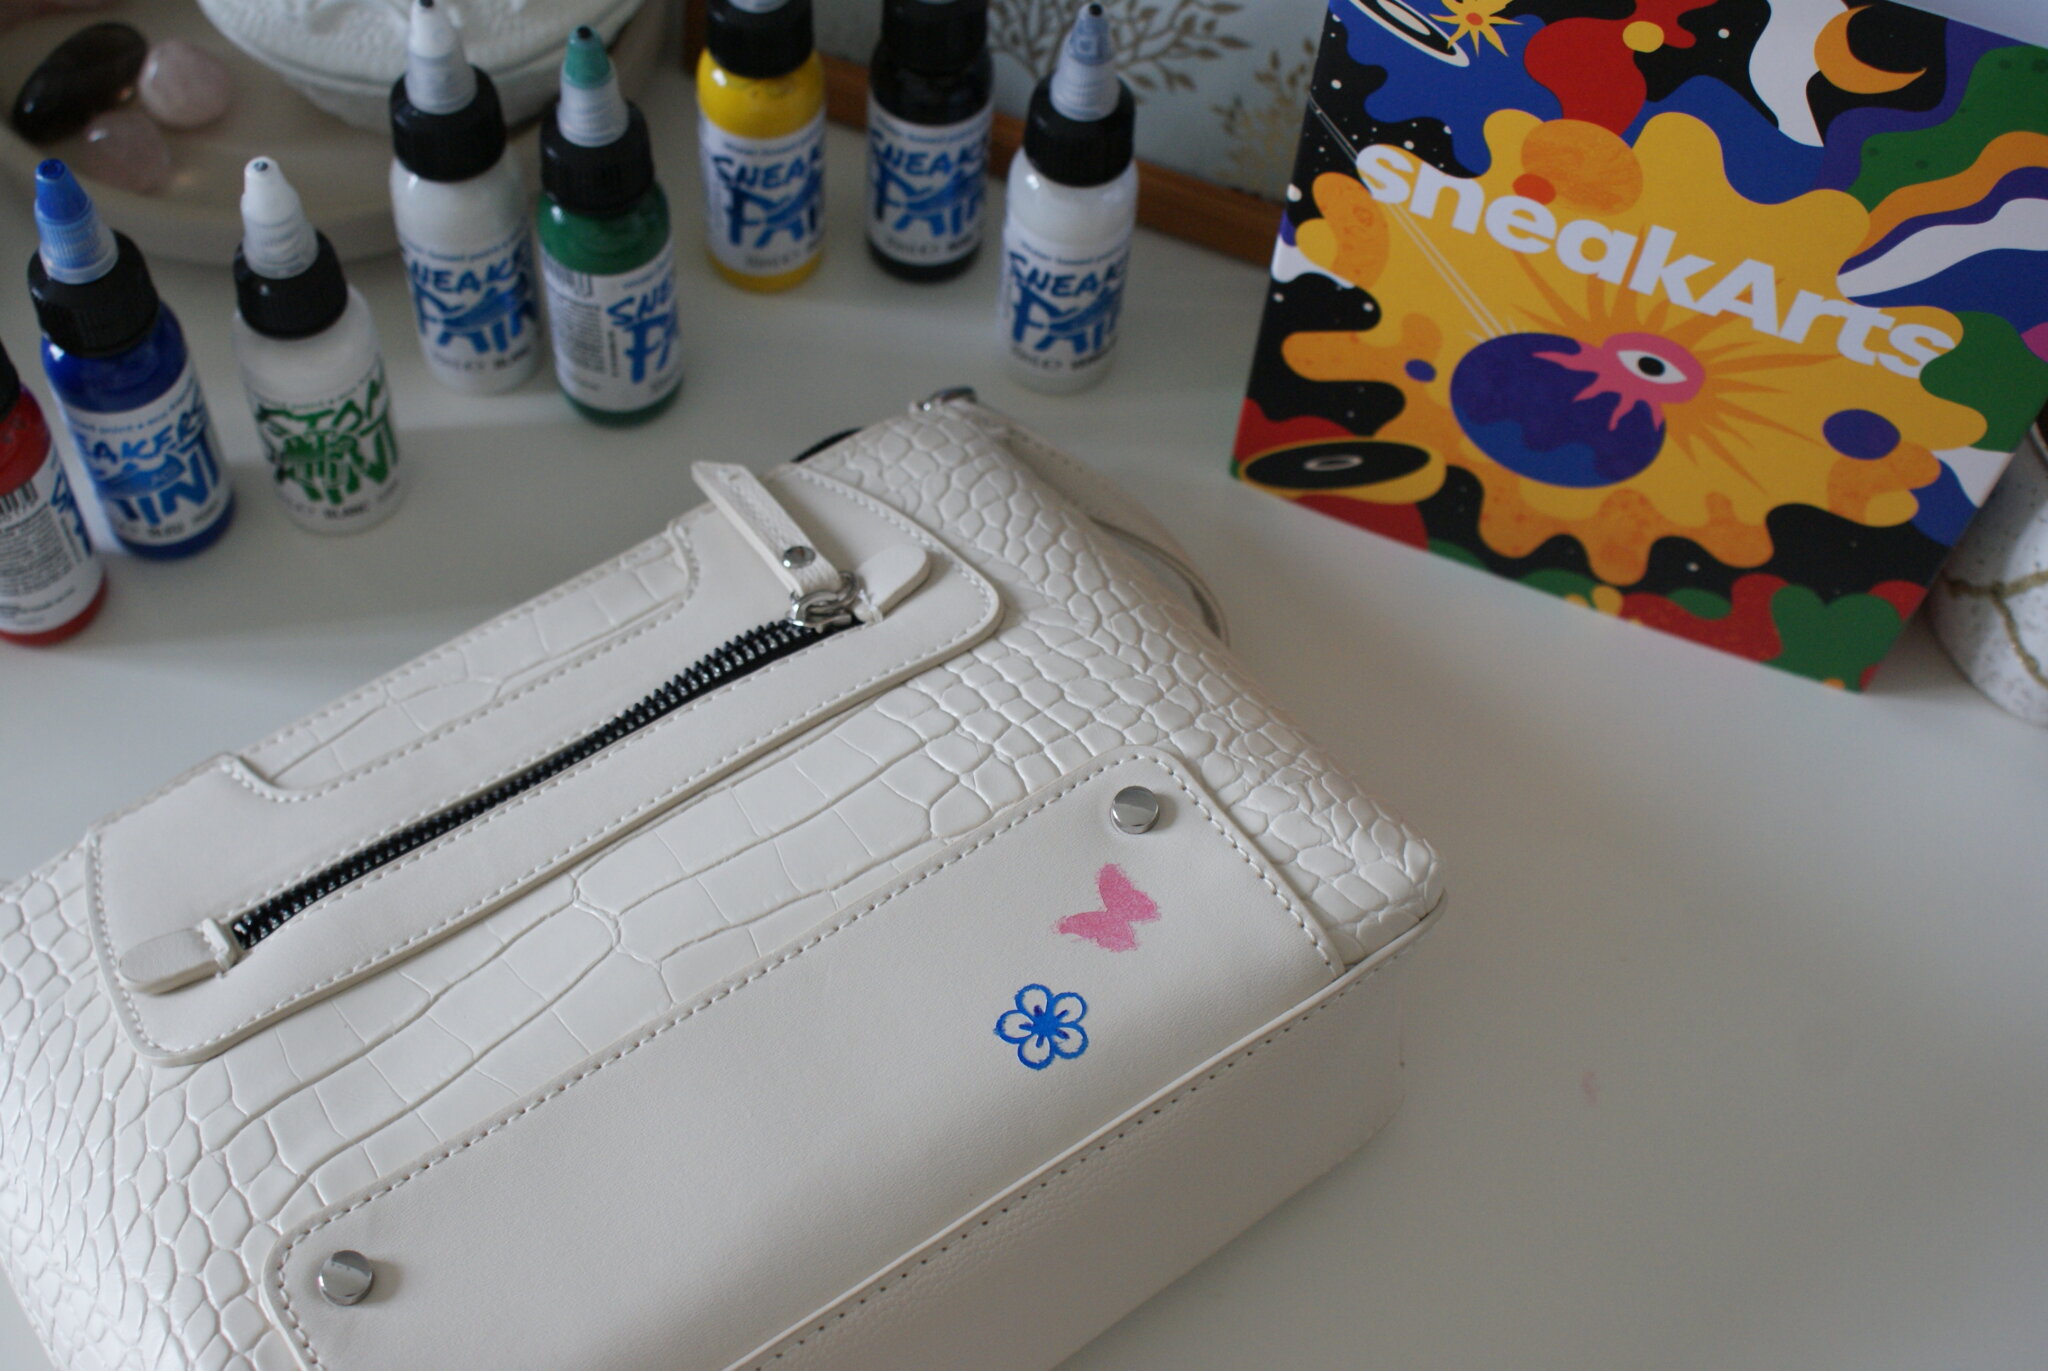
- SneakArts painting kit and stencils
- hairdrier
- tweezers
- scissors
How to:
1)
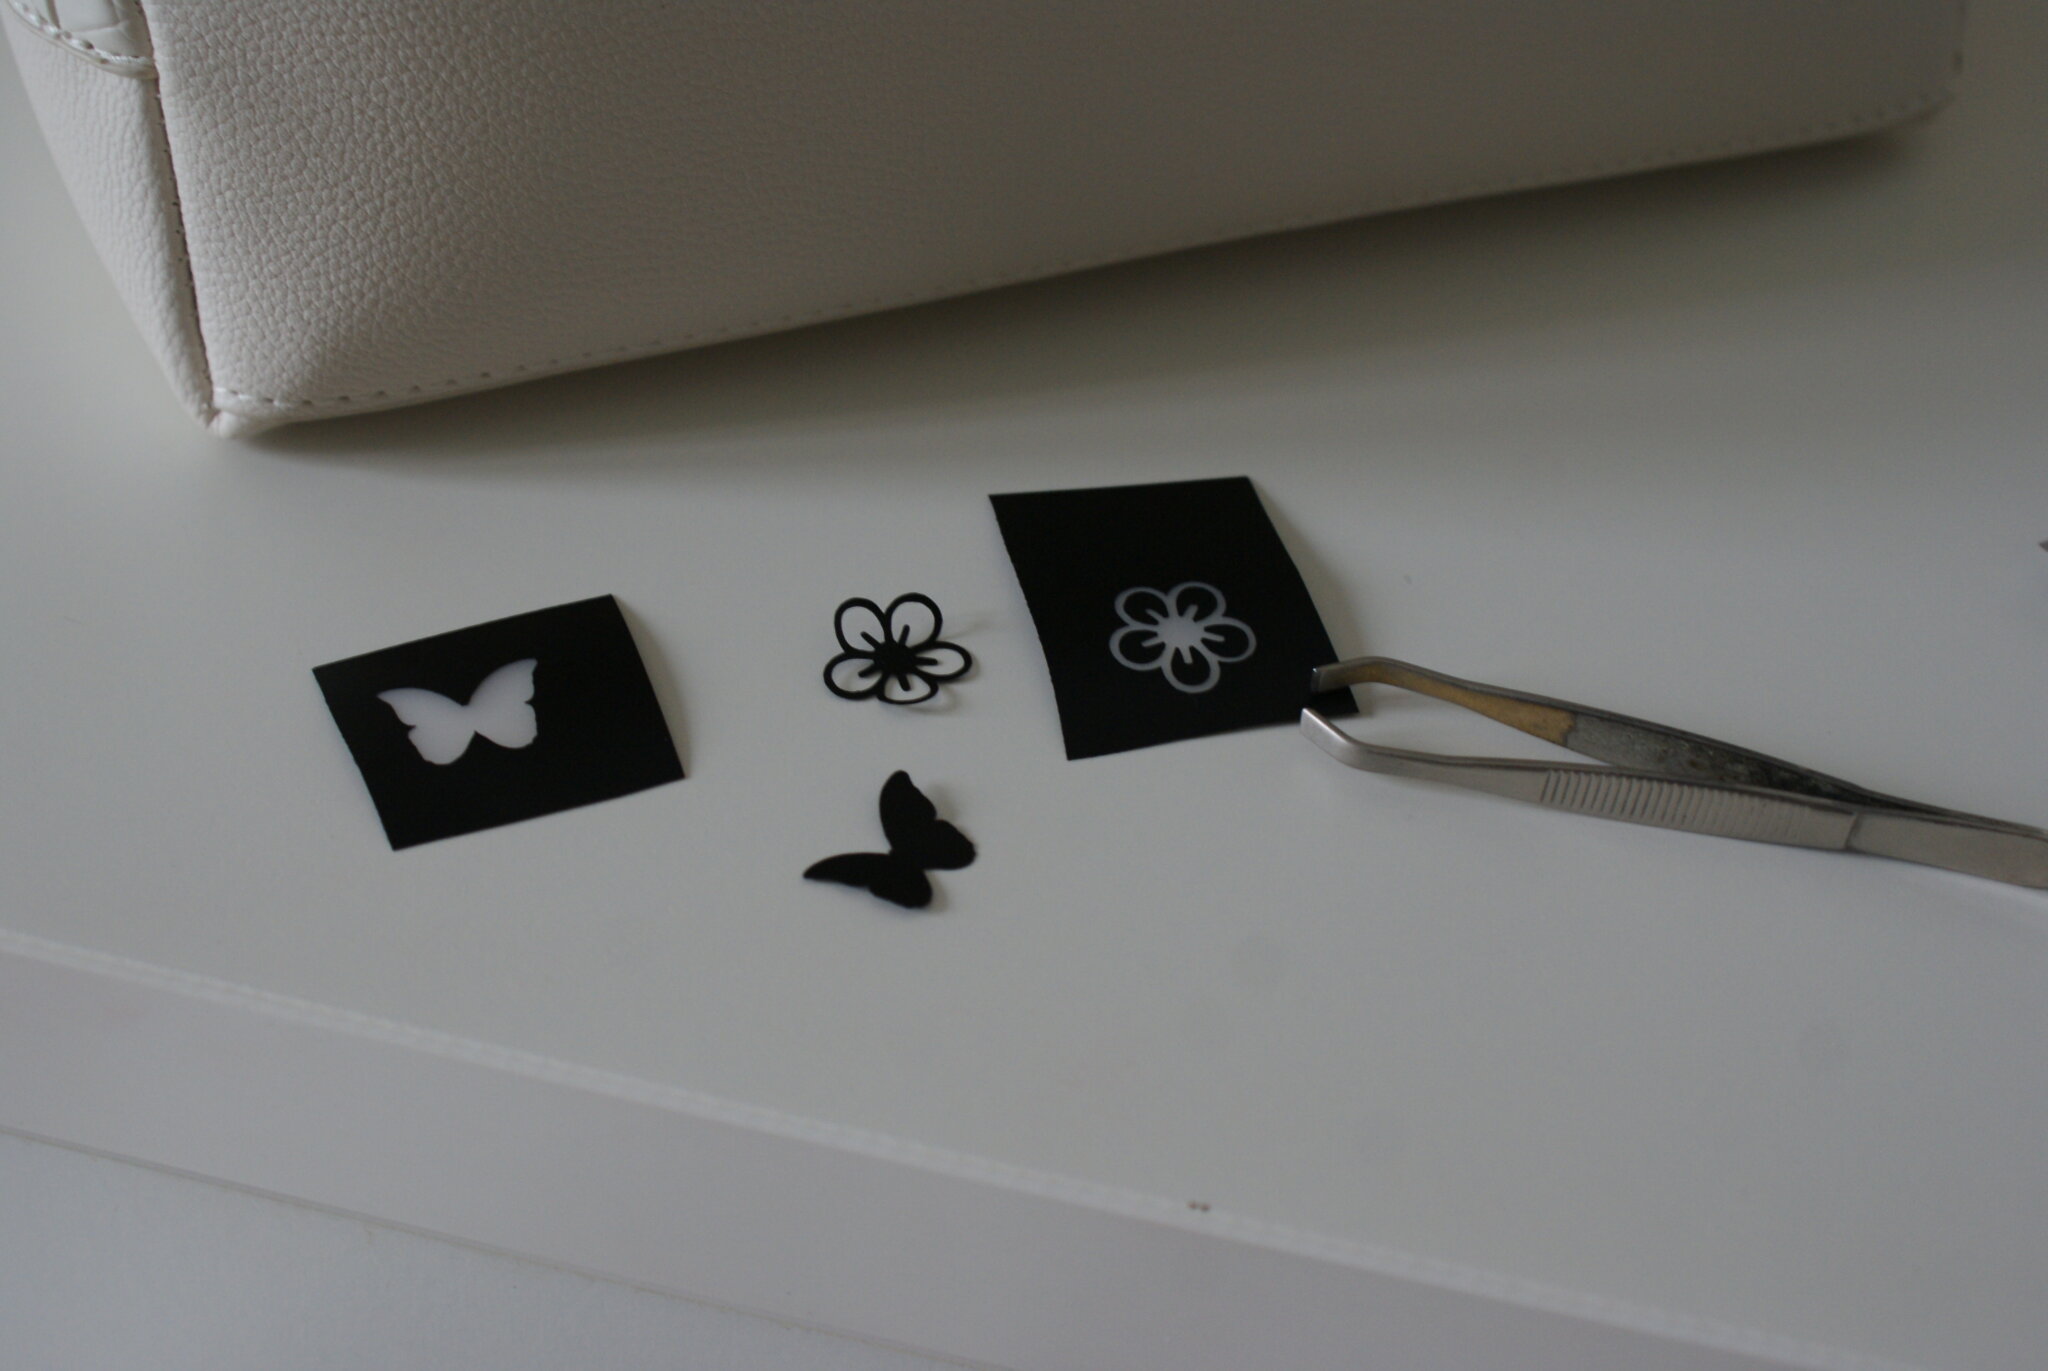
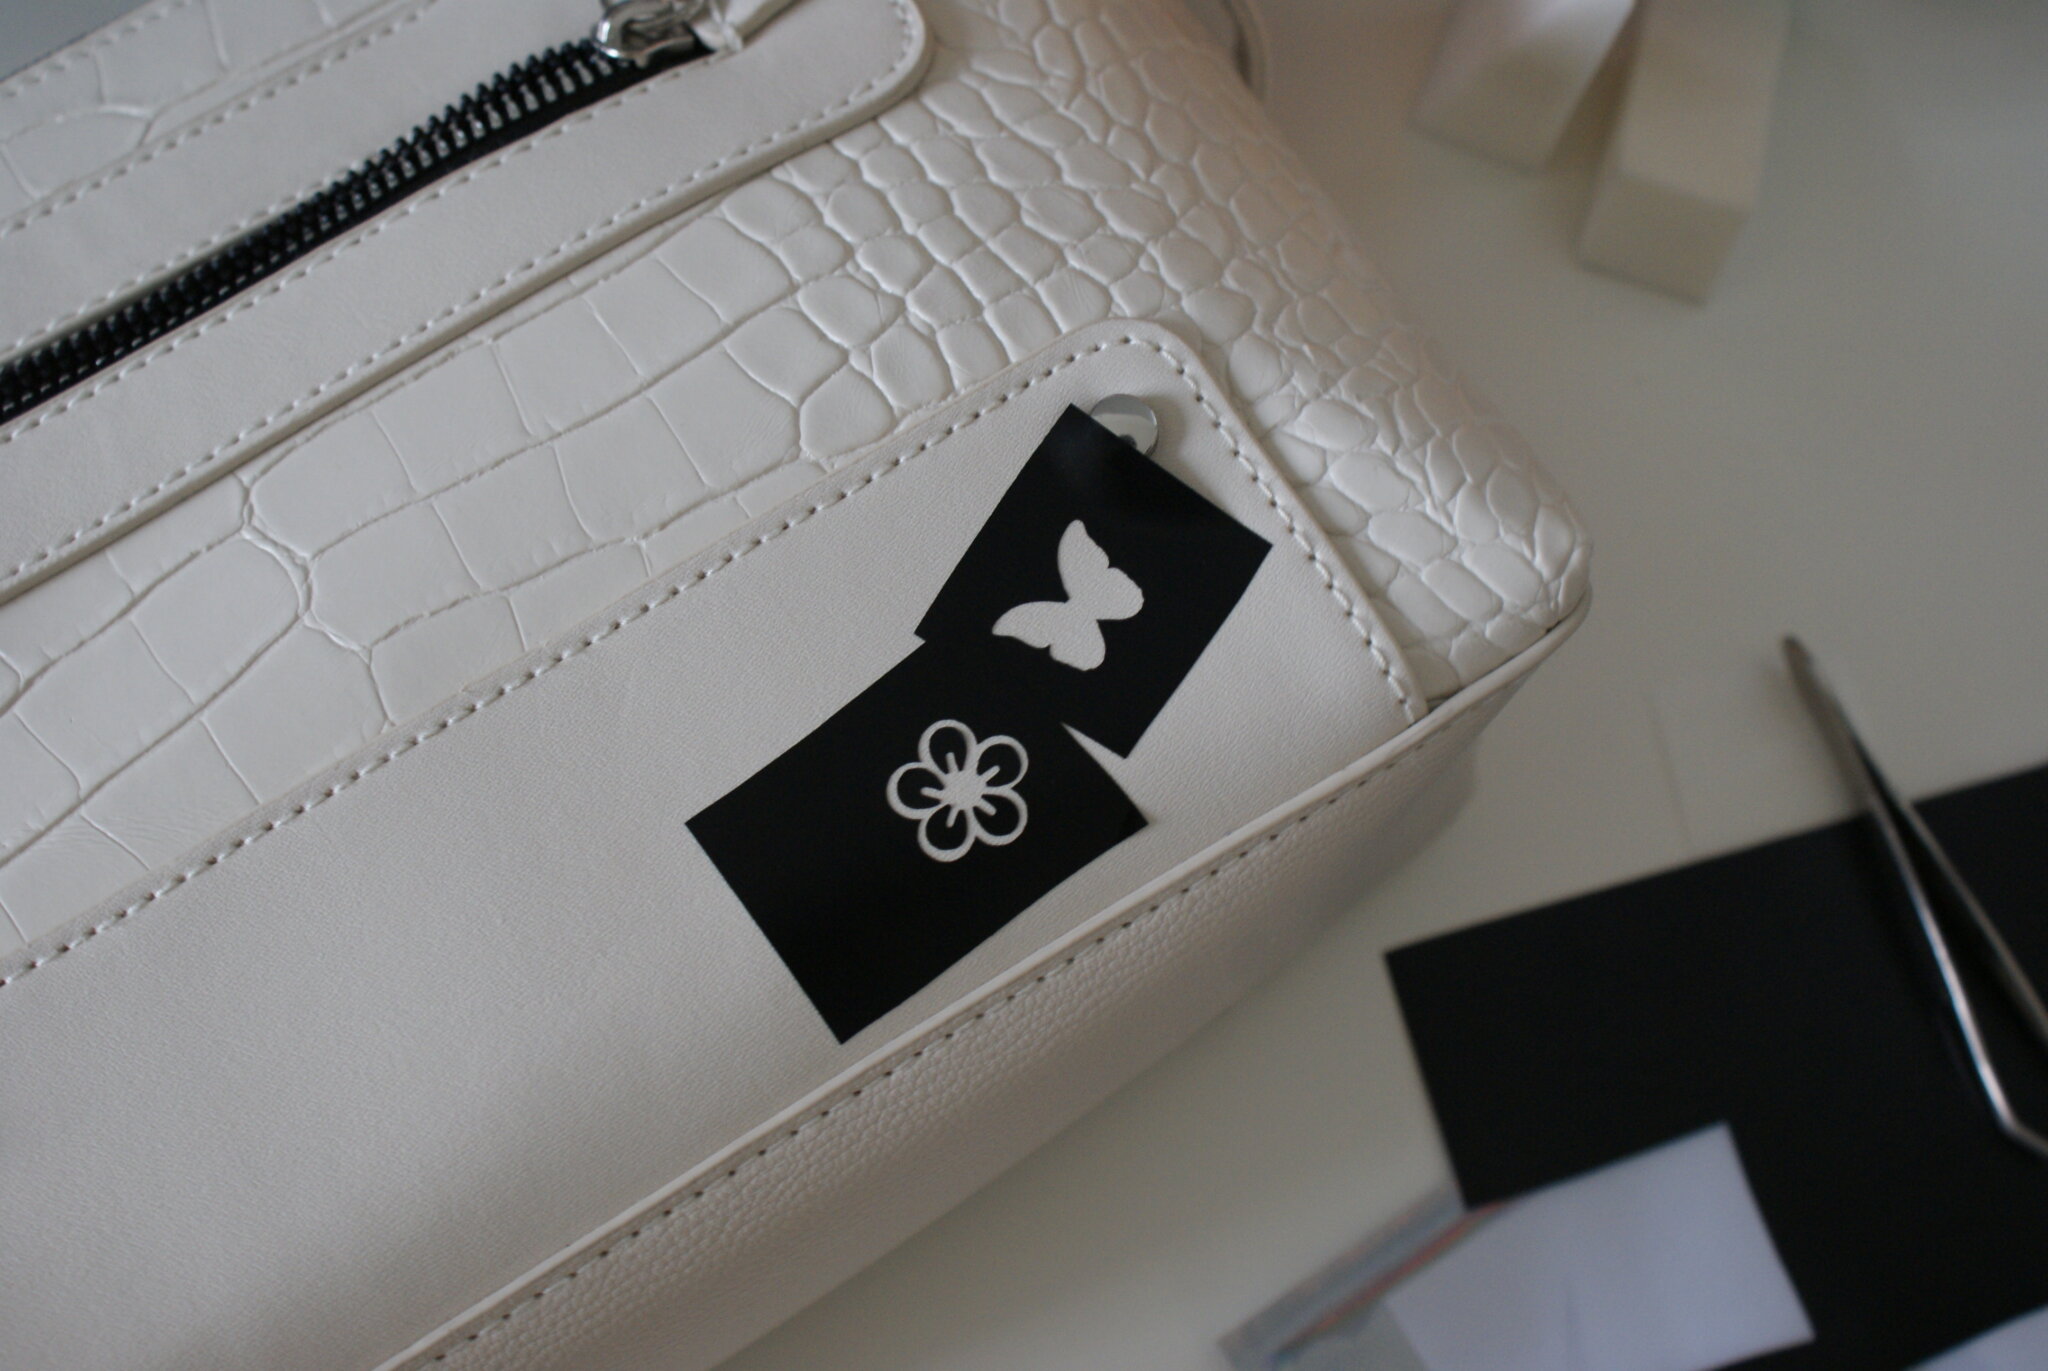
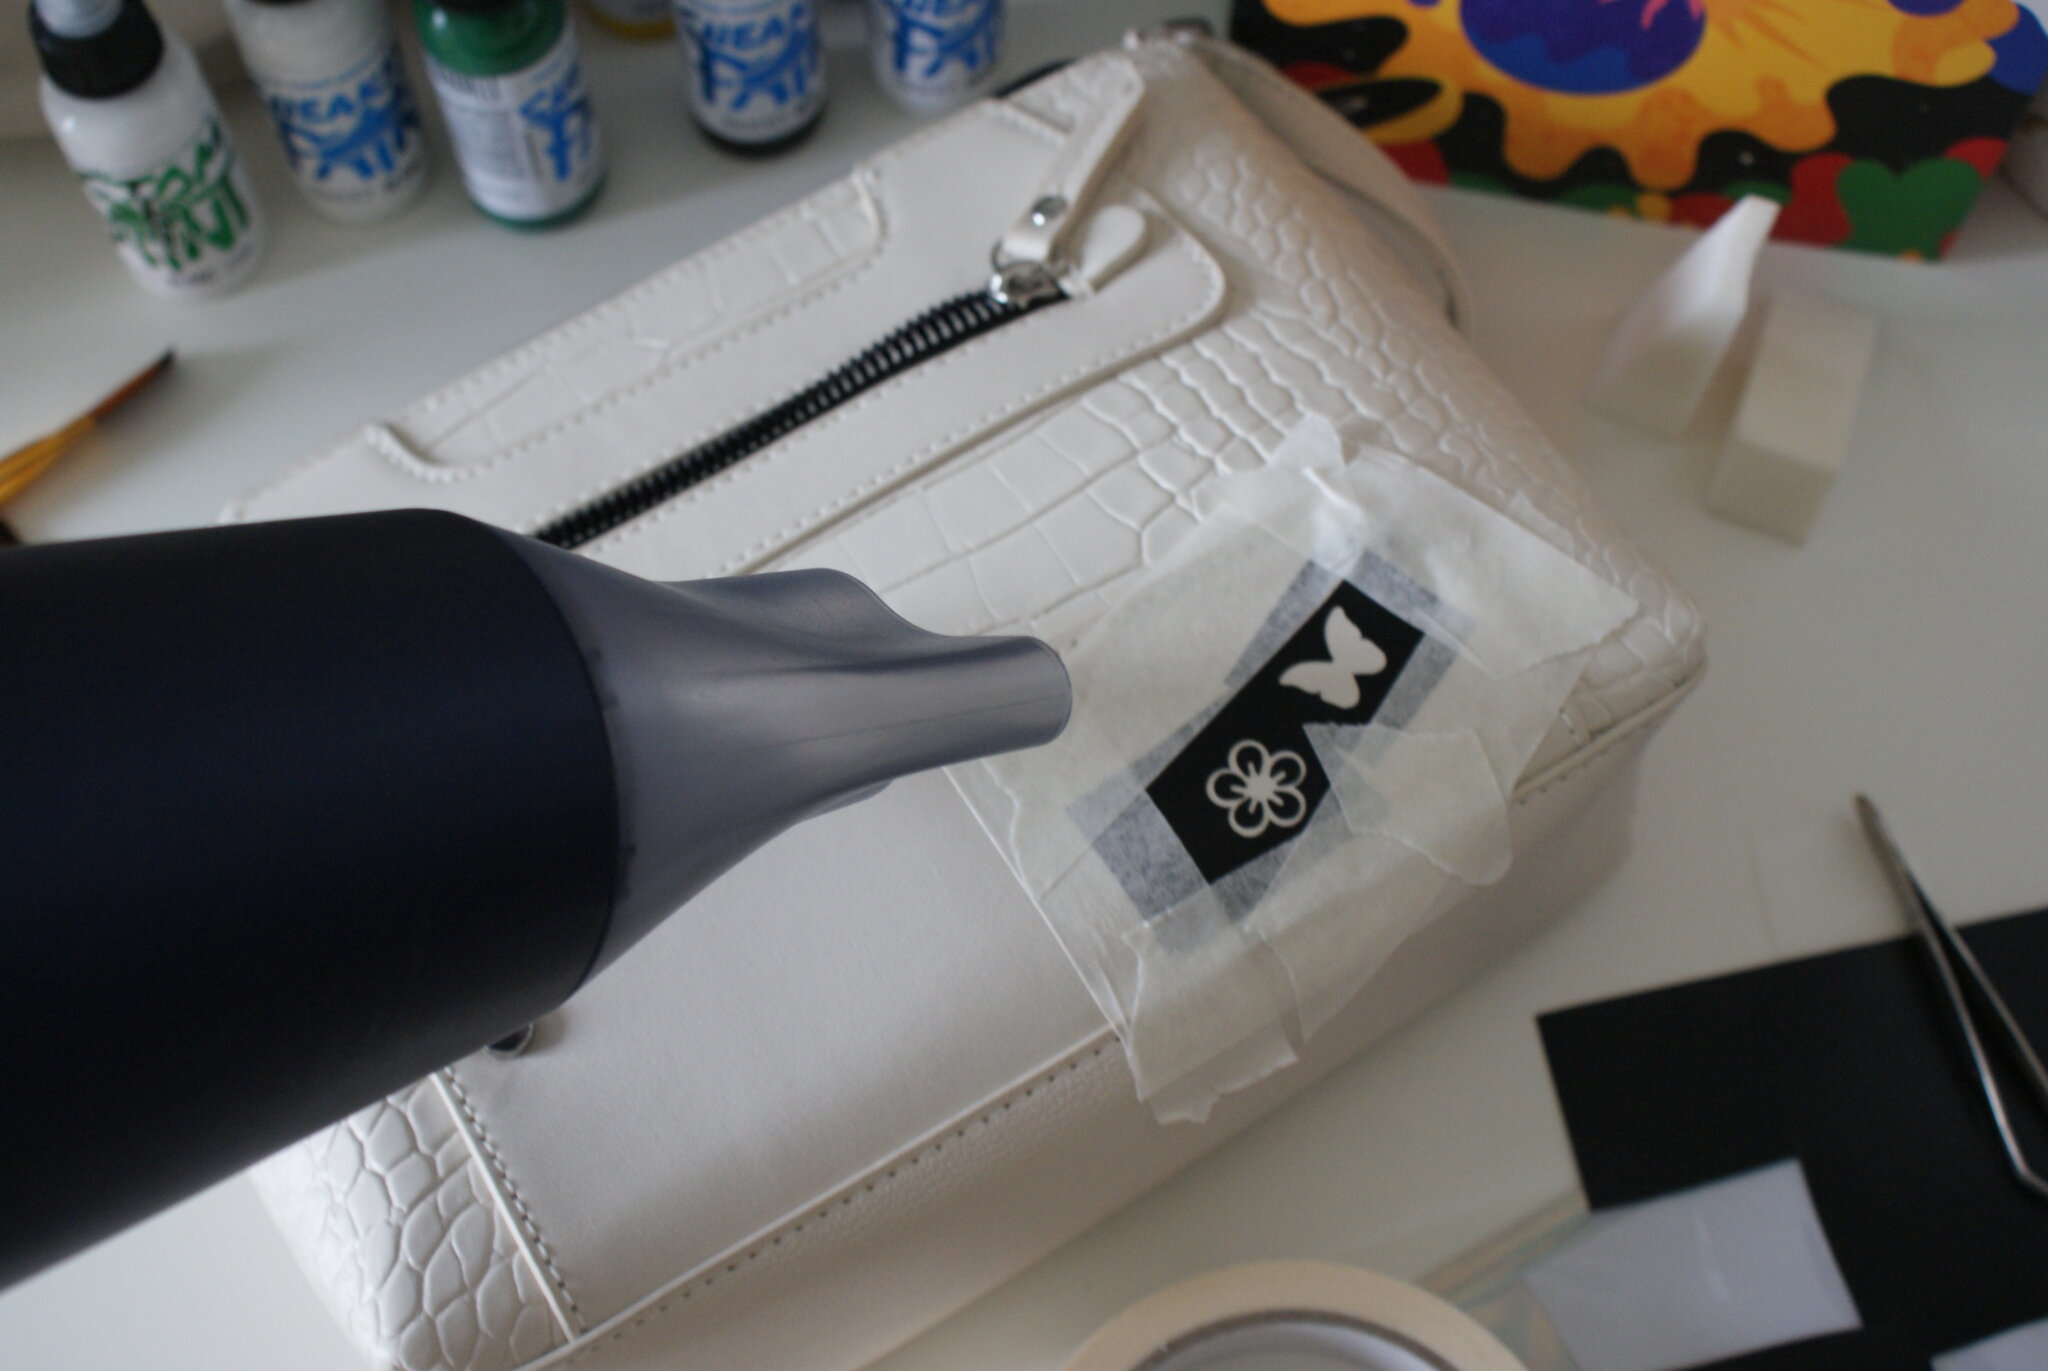
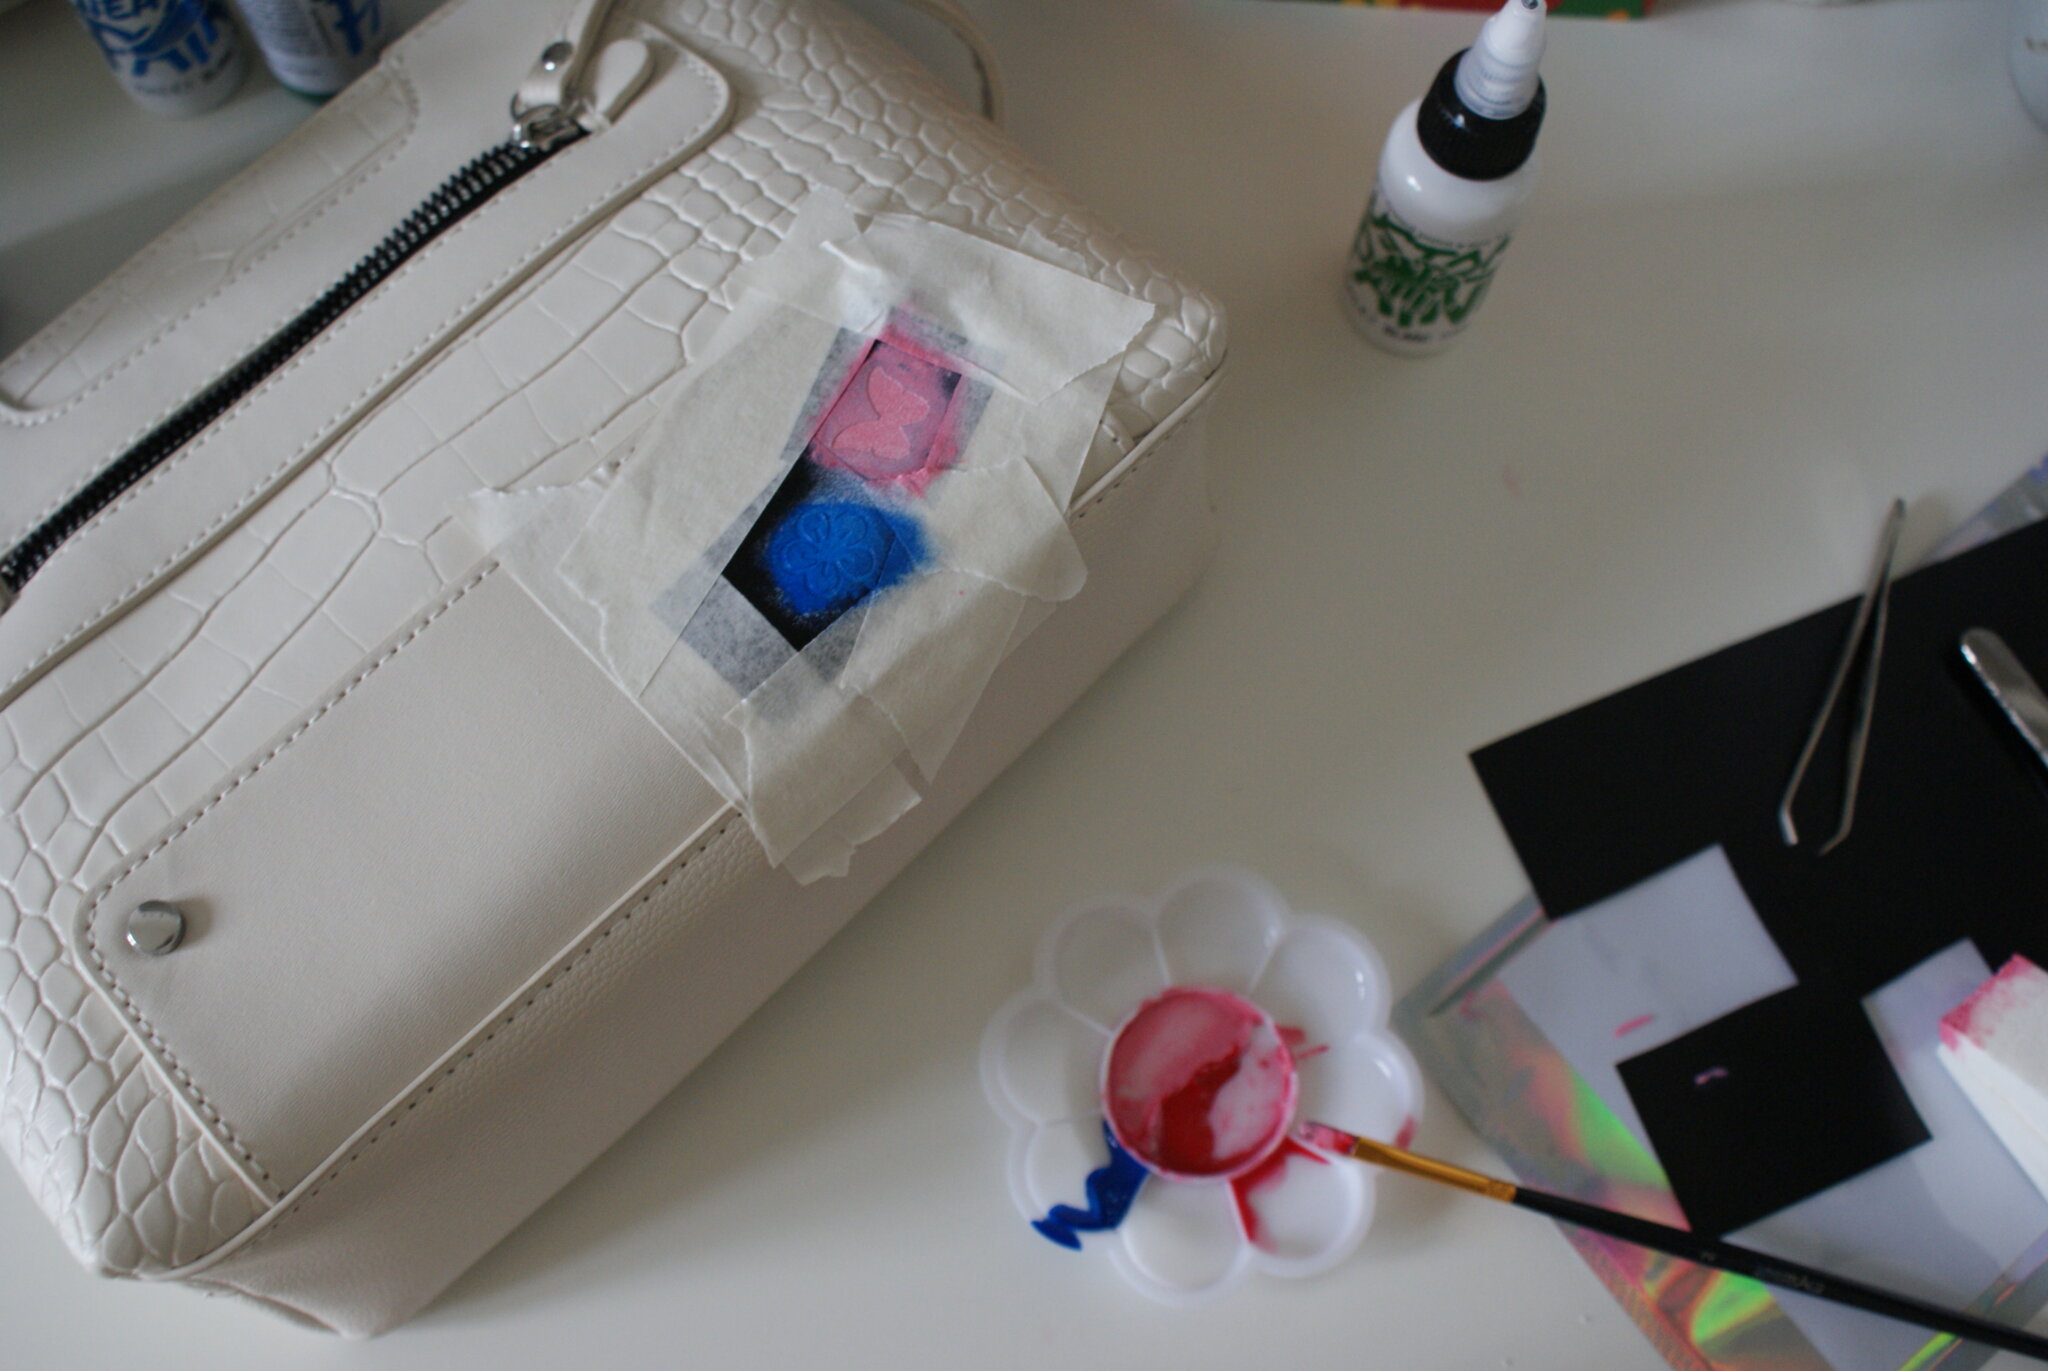
The first thing I did was cutting the stencils I chose for this projects and with the help of tweezers placing them onto the bag after removing the protective film from the adhesive side. Then I protected the bag with paper tape and used the hairdrier to fix the stencils.

2)
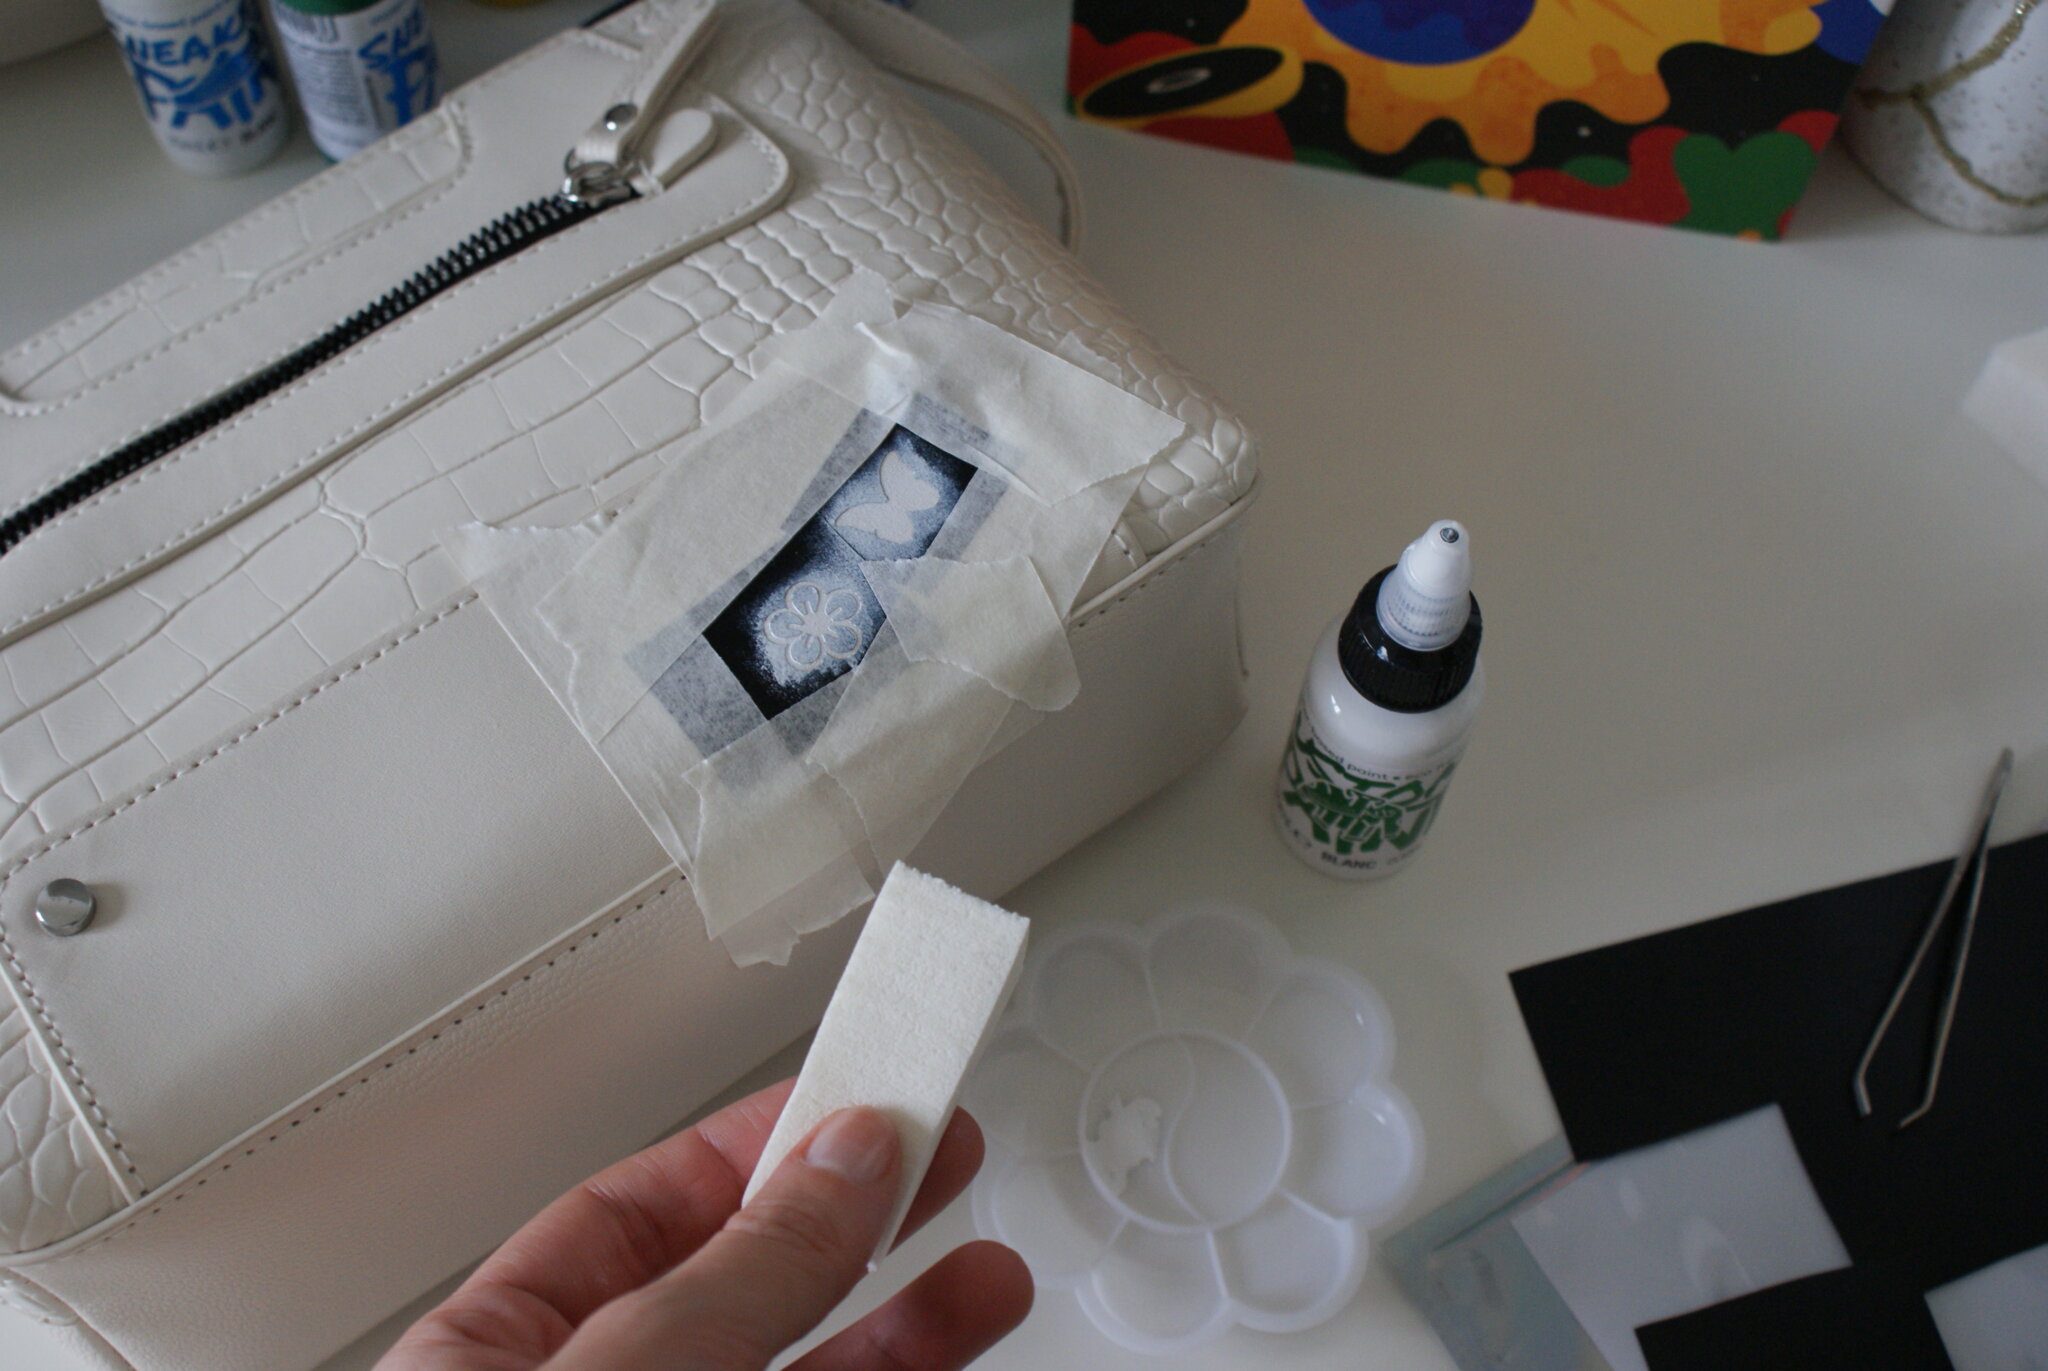
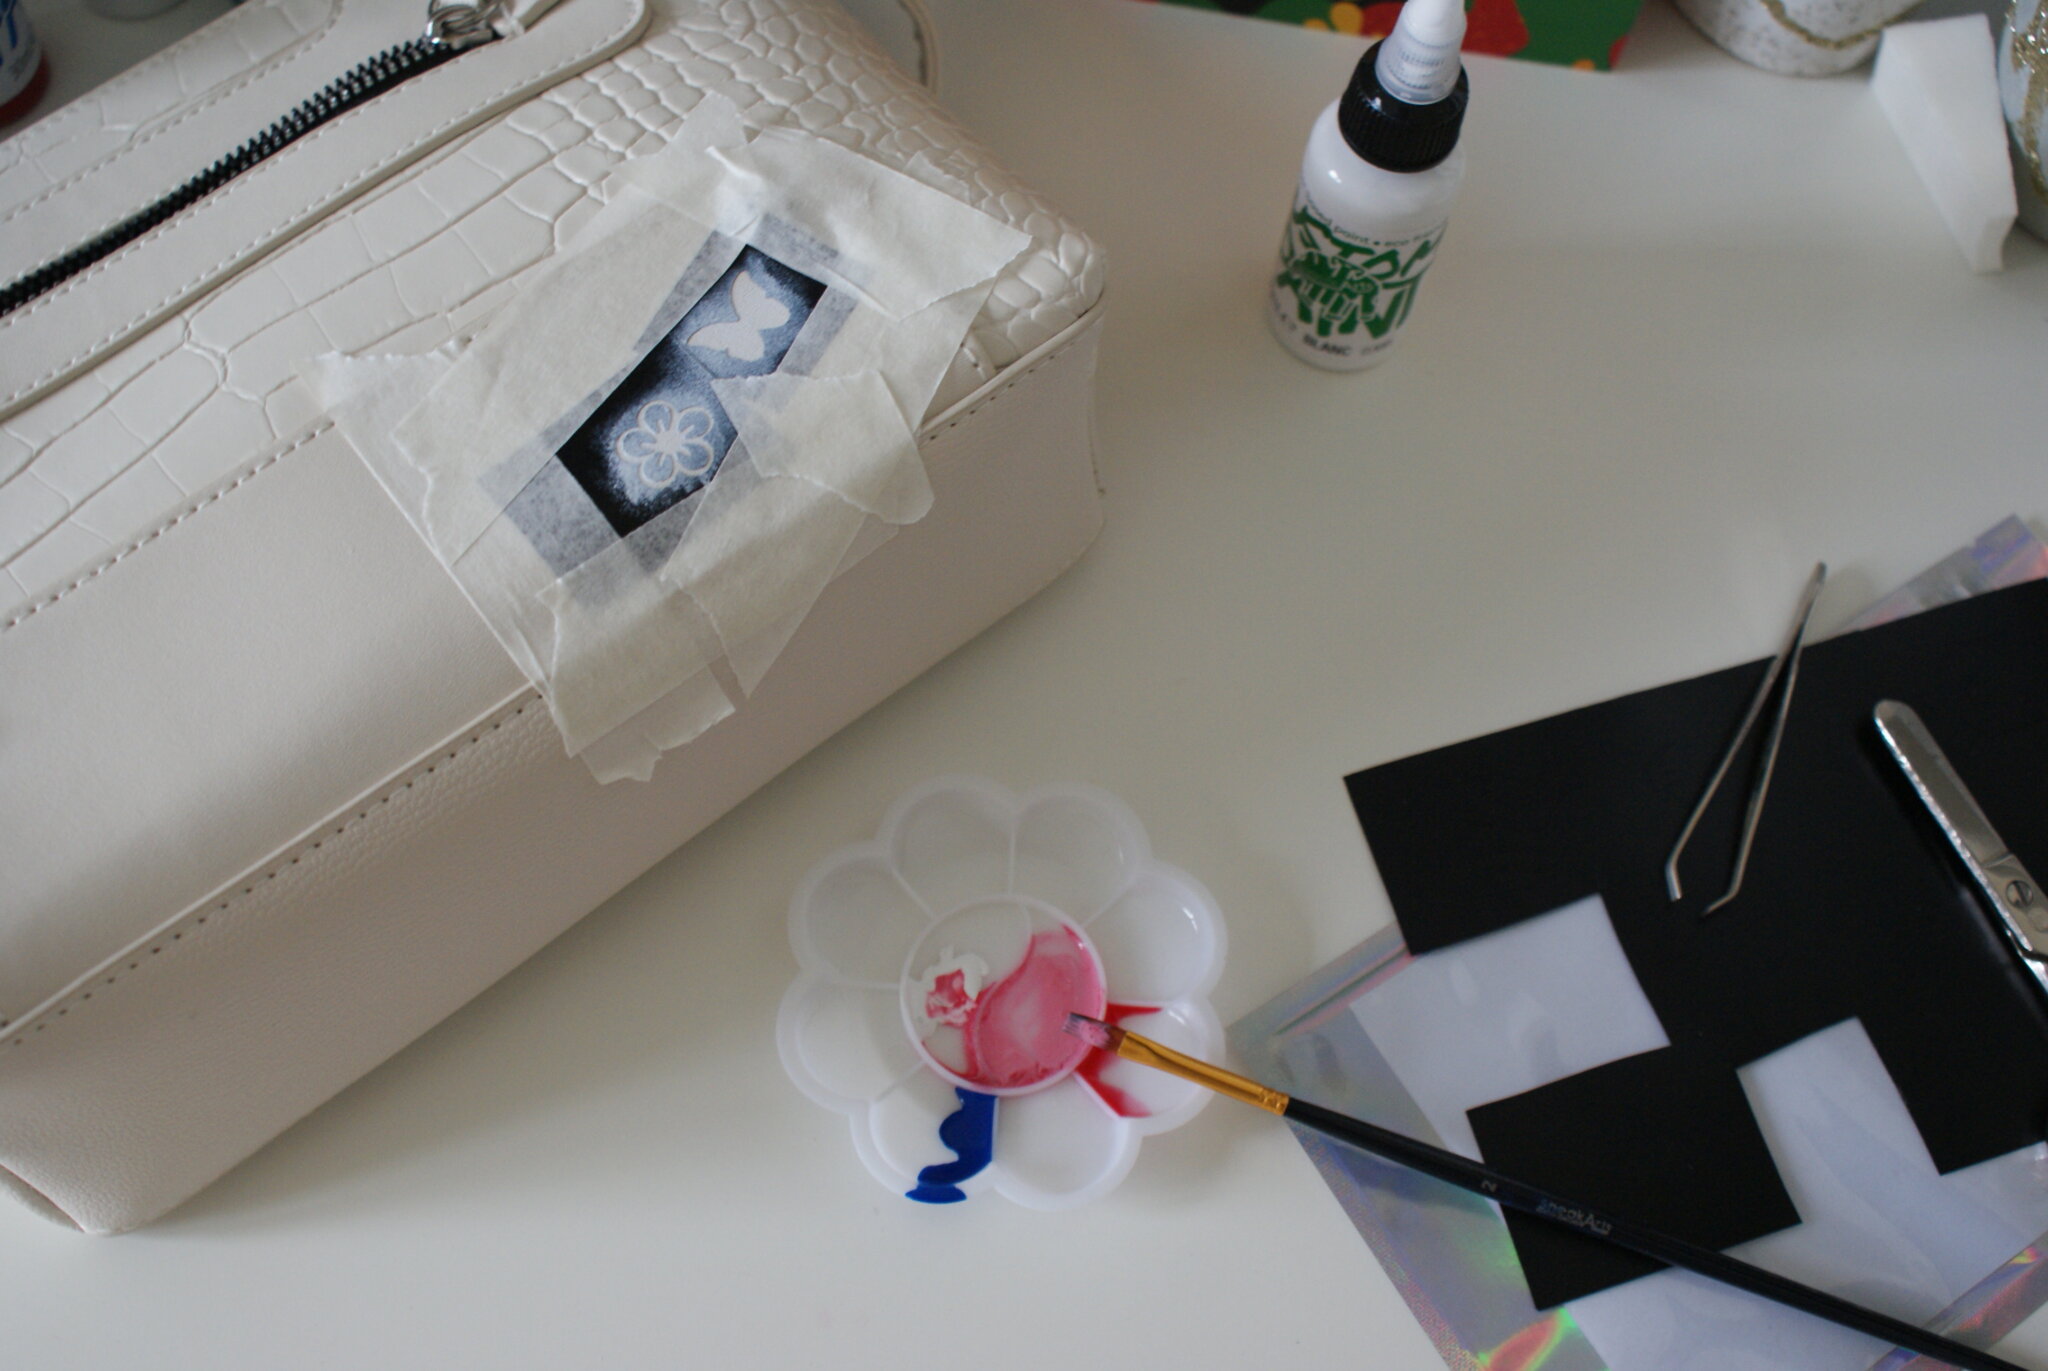
I made a first layer of white paint (you can skip this step and directly use the colour on leather) using the sponge included in the kit. Again, I used hairdrier to dry (keeping in about 15 cm away). Then I created the pink shade mixing red and white for the butterfly and used the blue for the flower and painted them gently tapping again with the little sponge.
3)
The stencils are reusable so I did two butterflies then waited for the paint to dry and finally gently removed the stencil with the tweezers. To finish the work I added some handfree painting (still don’t know if it was a cloud in my mind or something else) and a golden finish. I let it dry and voilà!
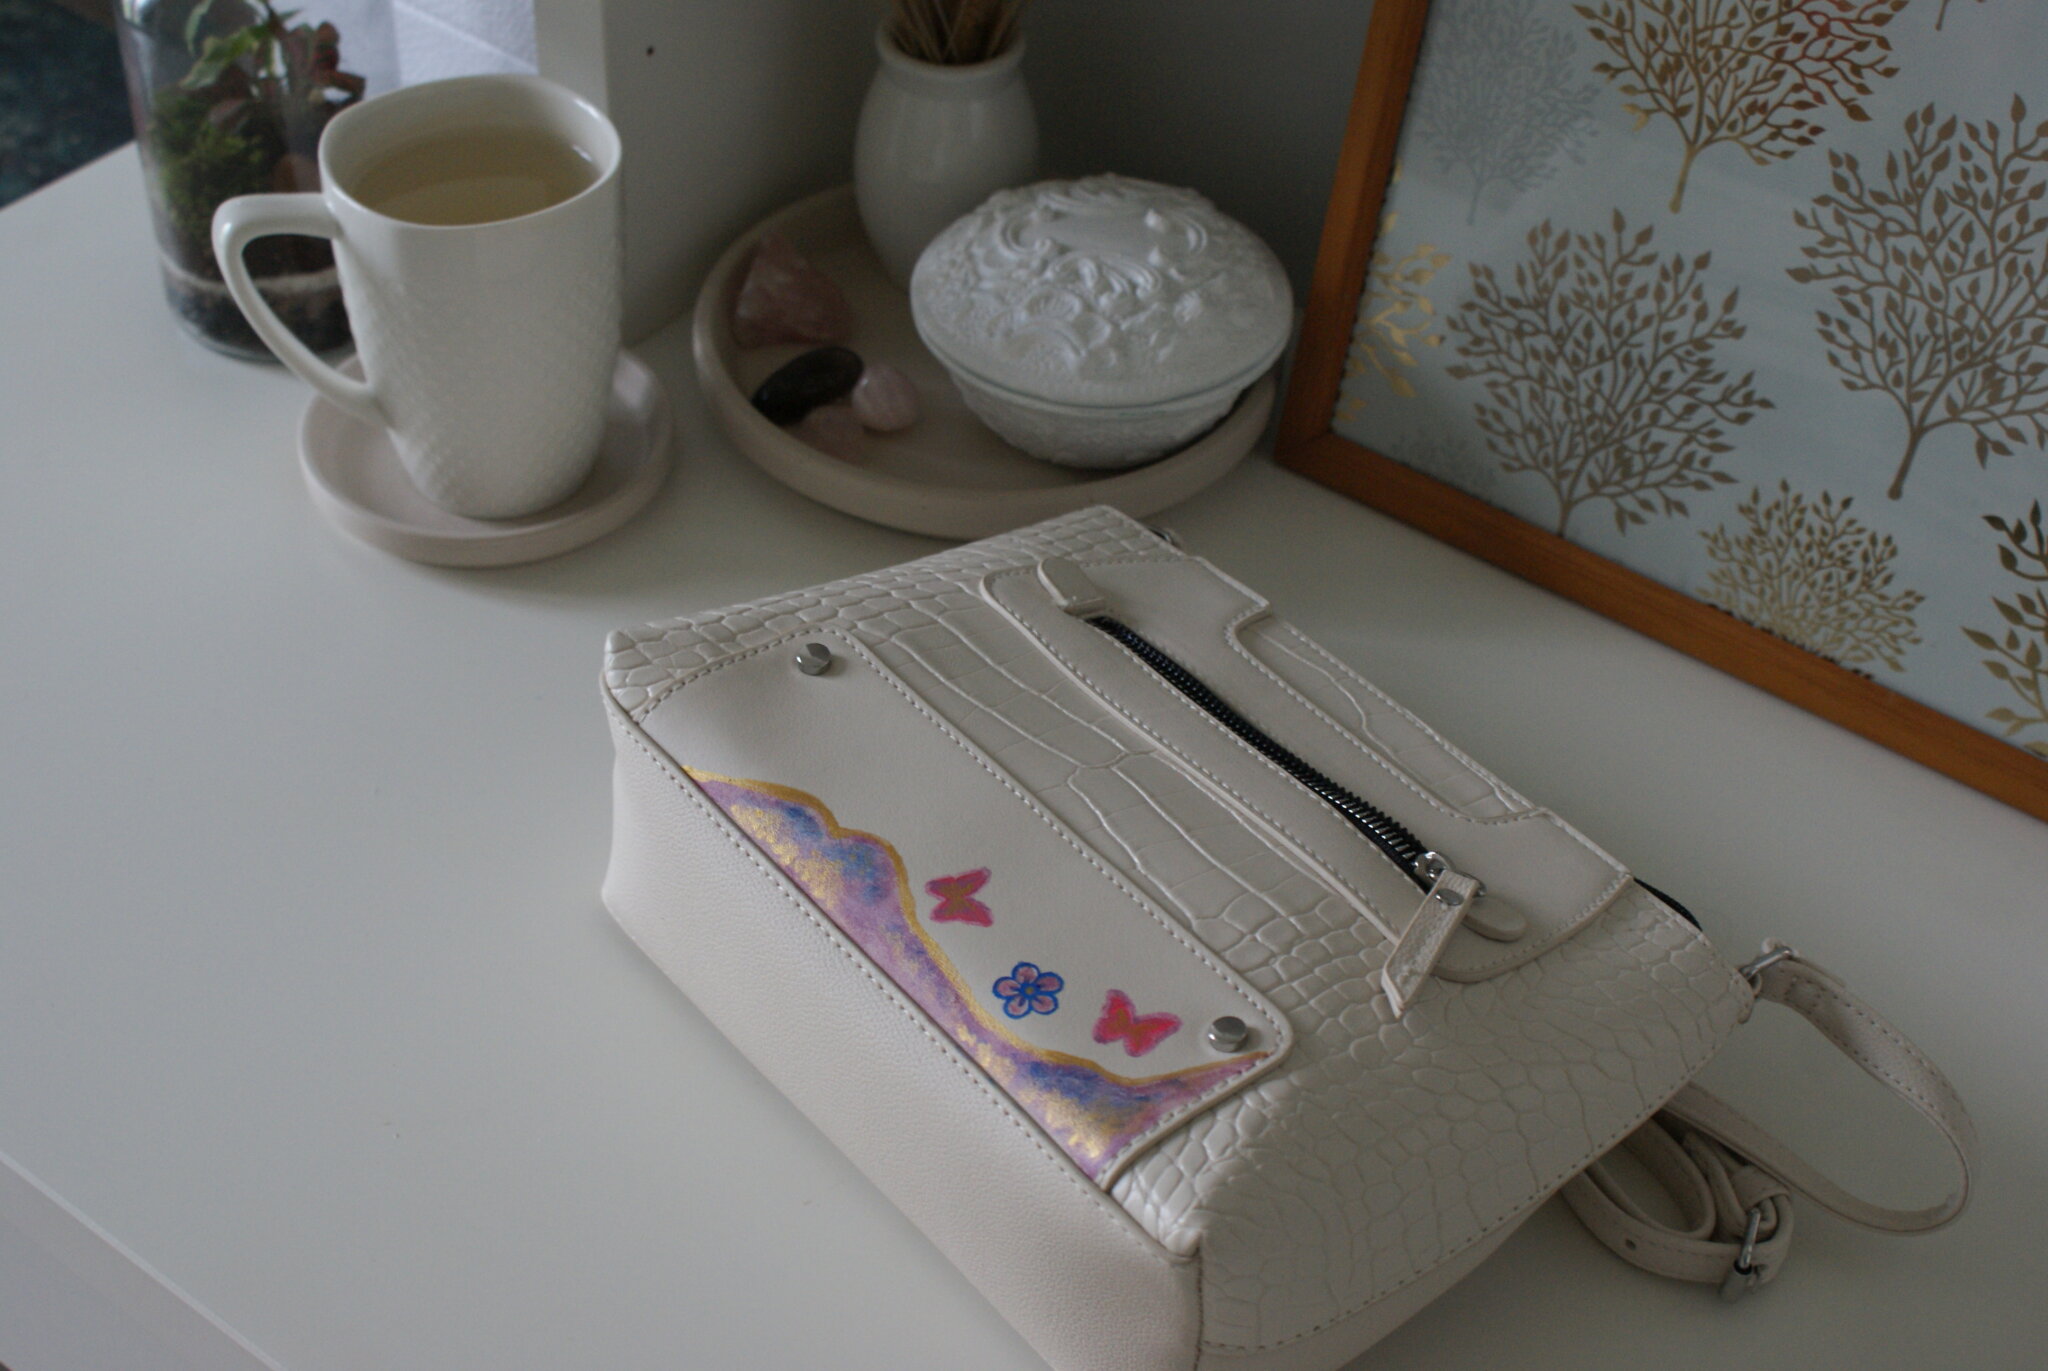
Hope you found this tutorial about how to make a custom painted leather bag useful! Are you ready to upcycle your old bags?
Did you like this post? Pin it on Pinterest!

This post is in collaboration with SneakArts. Opinions are my own, I was not paid to talk about the products.